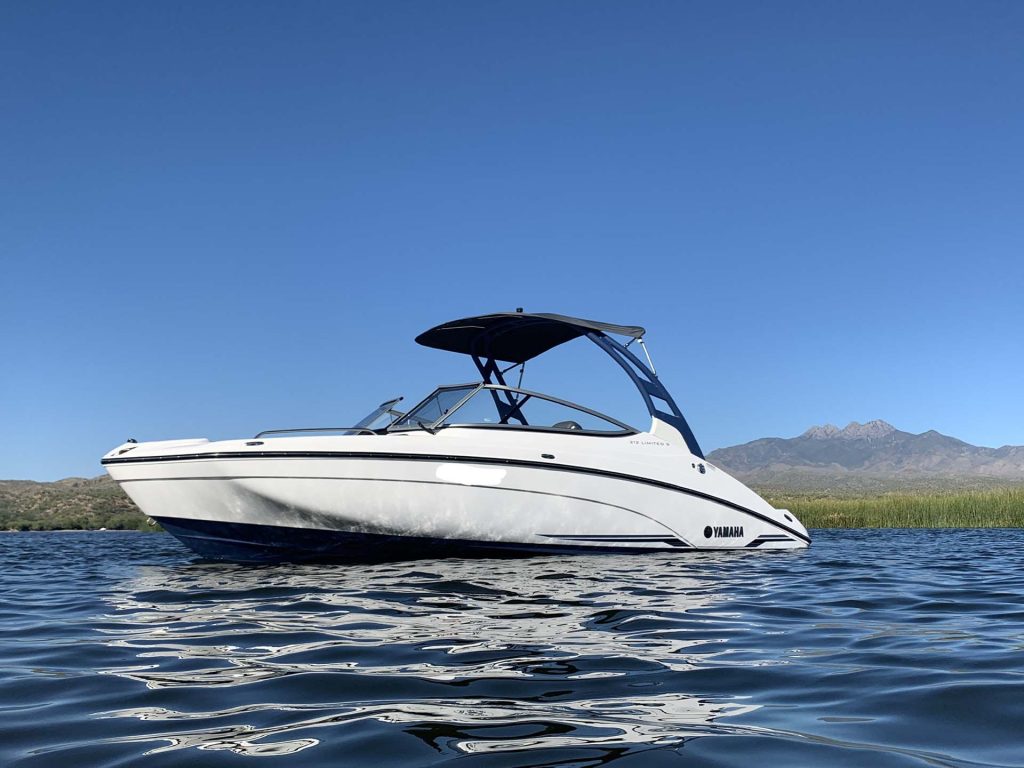
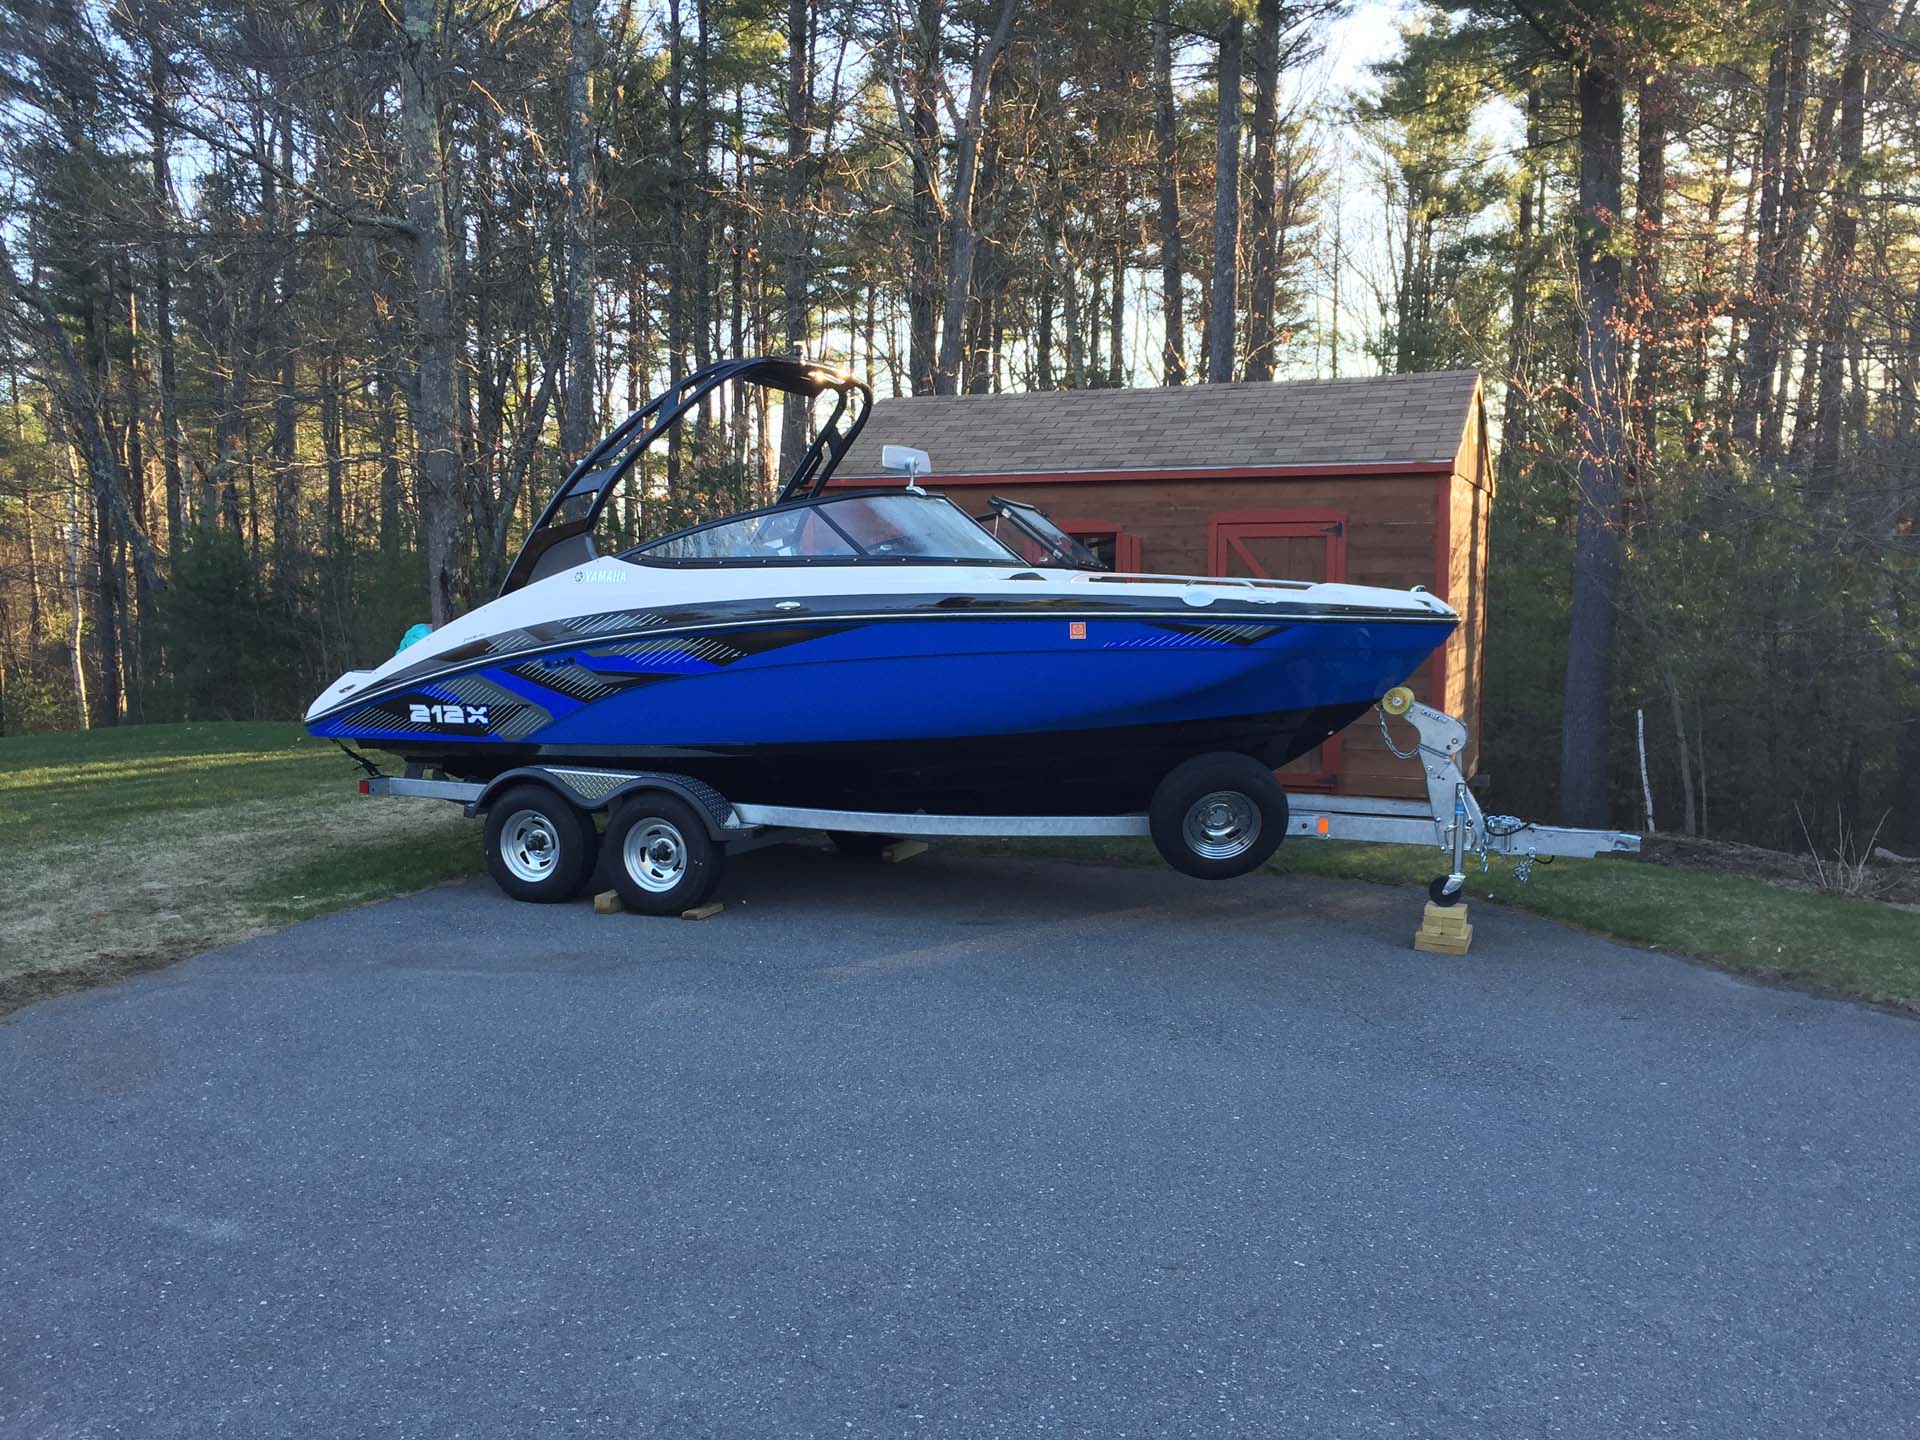
2017 Yamaha 212X


Amazing system, simple to install. Approx. 4 hours start to finish.
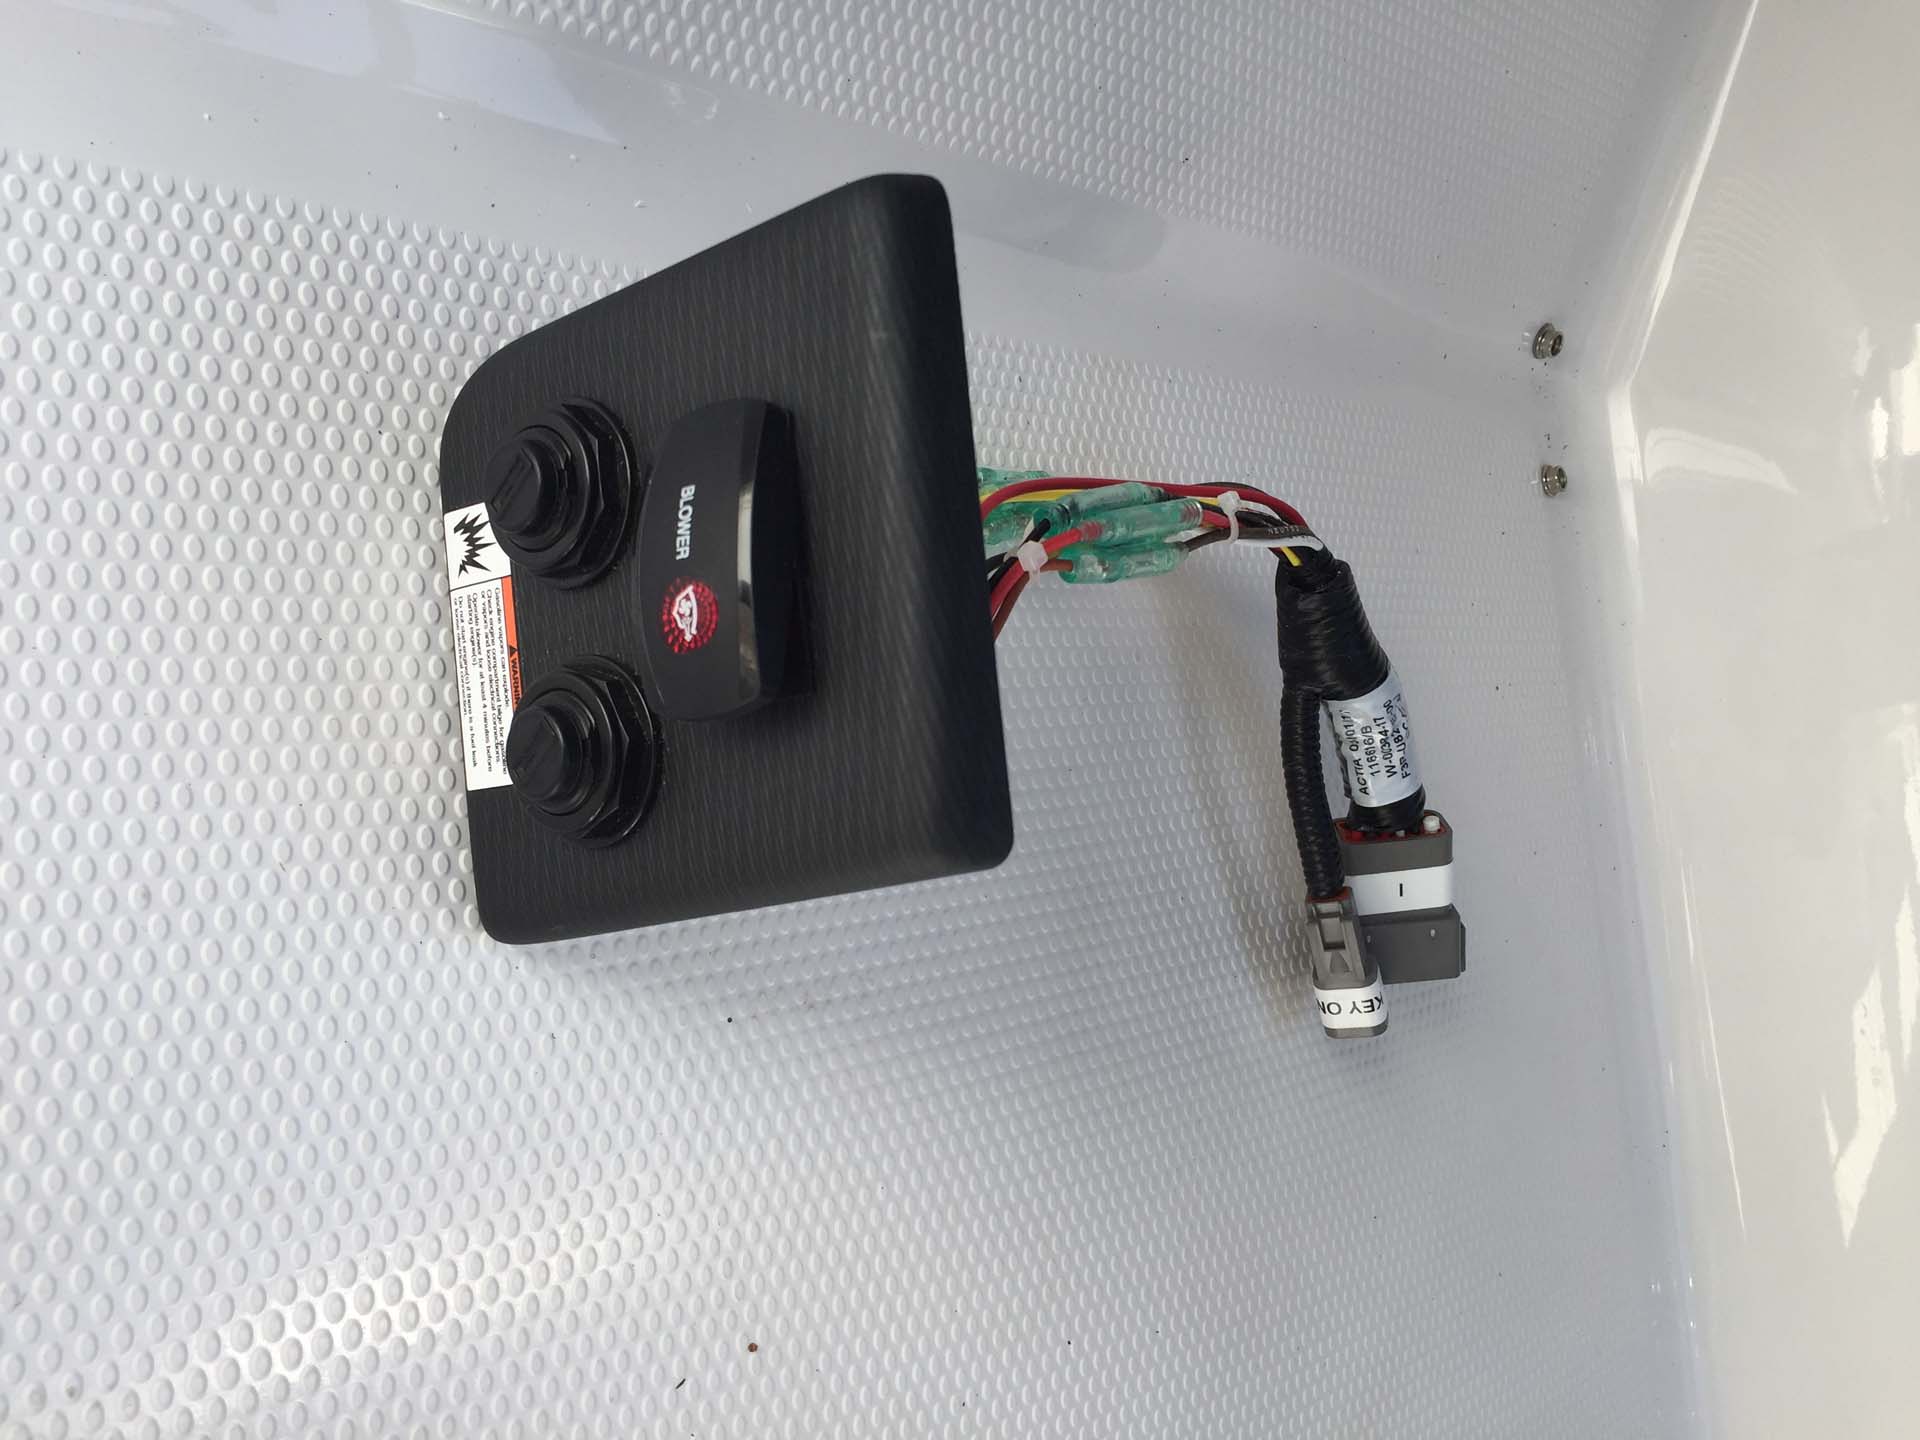
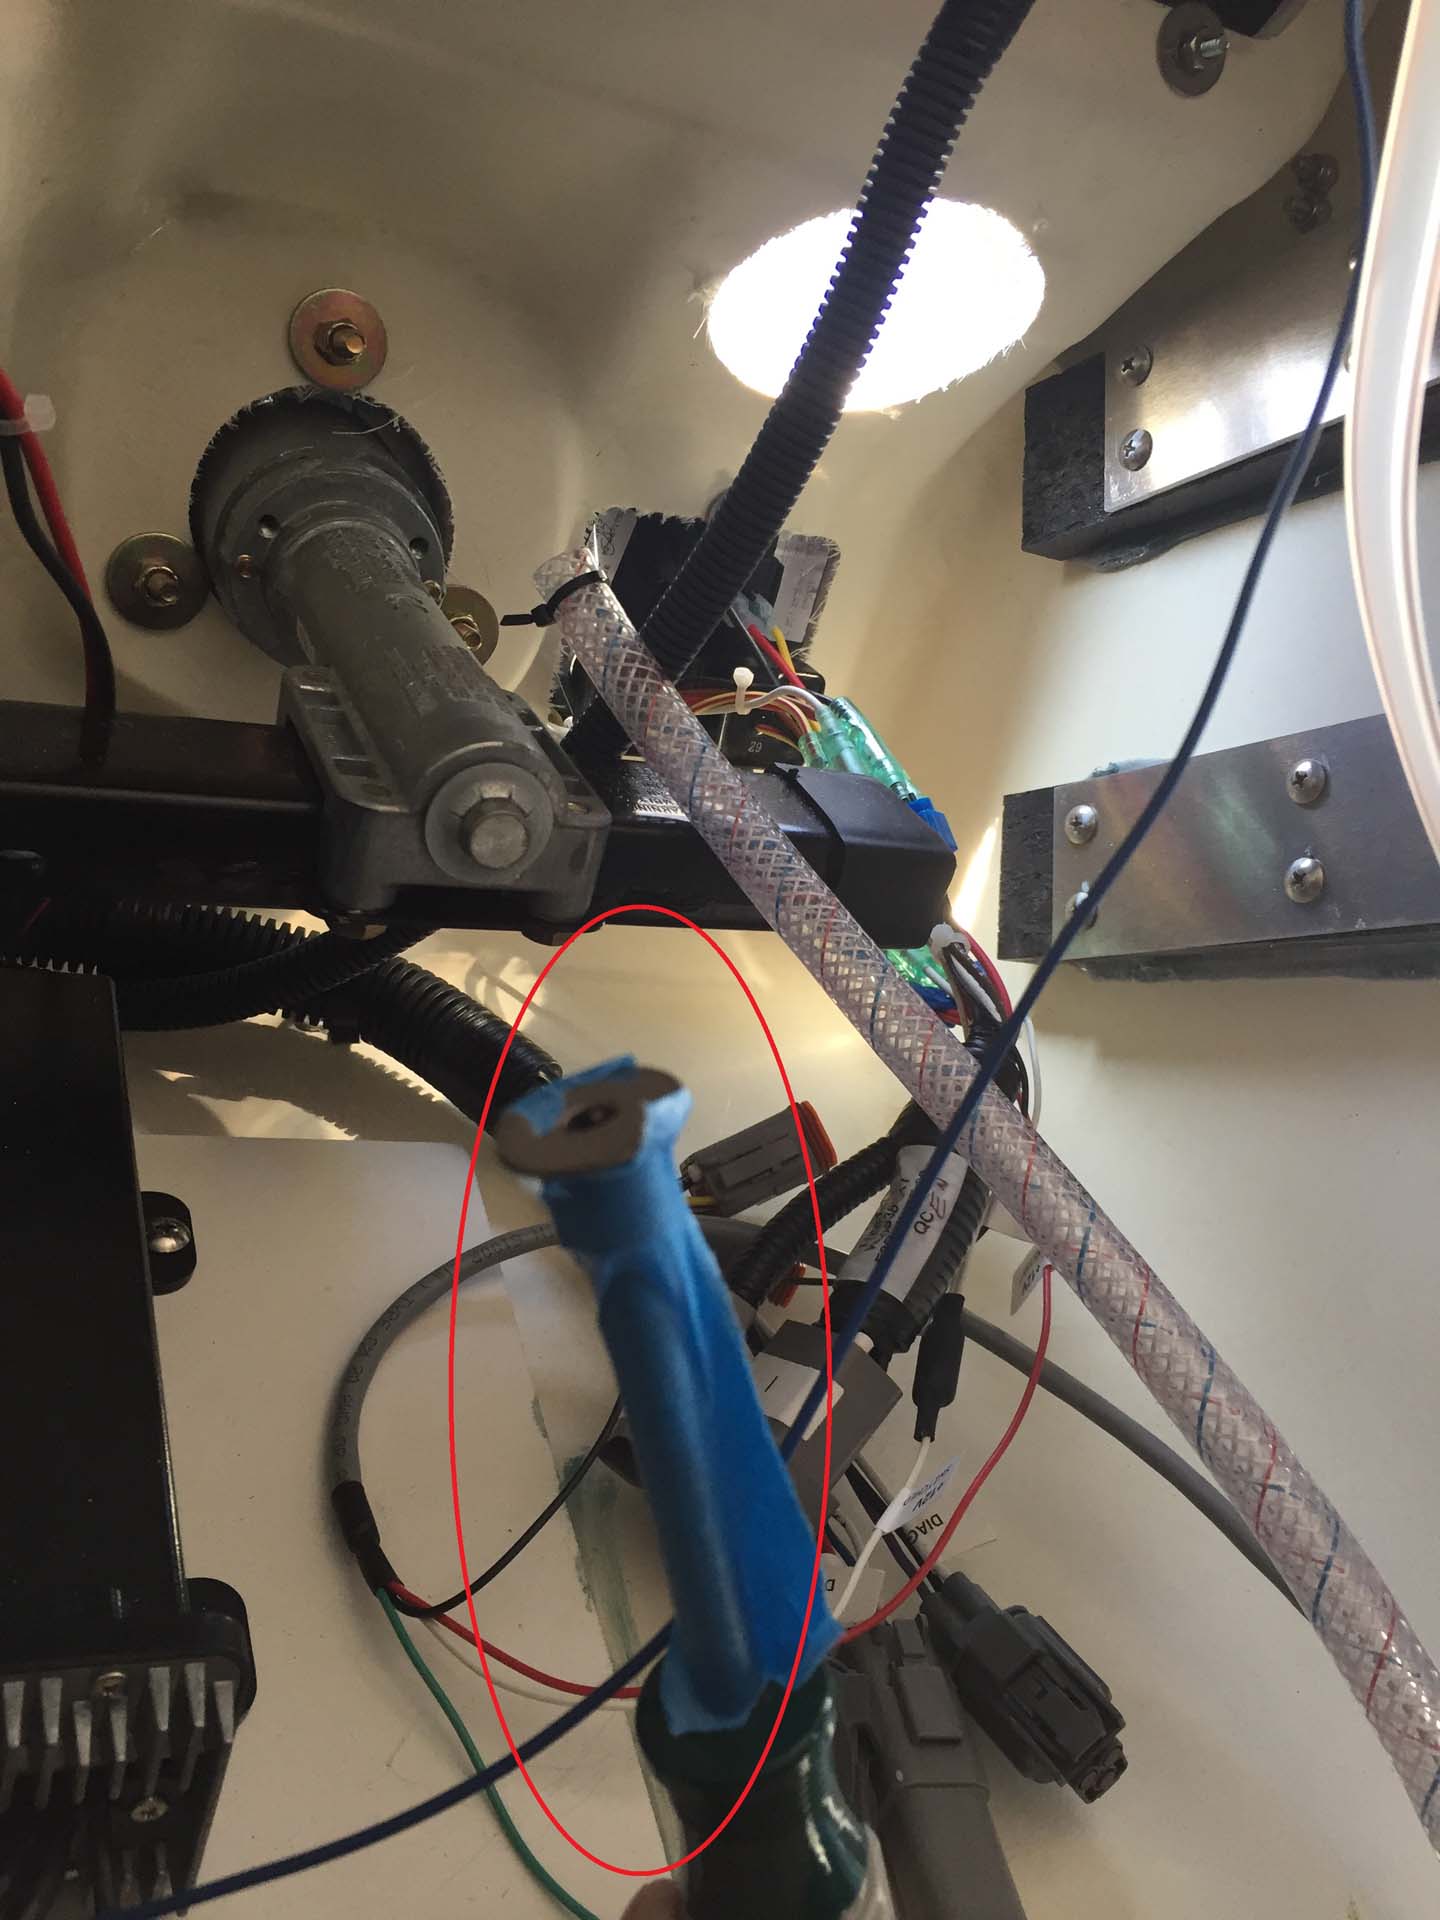
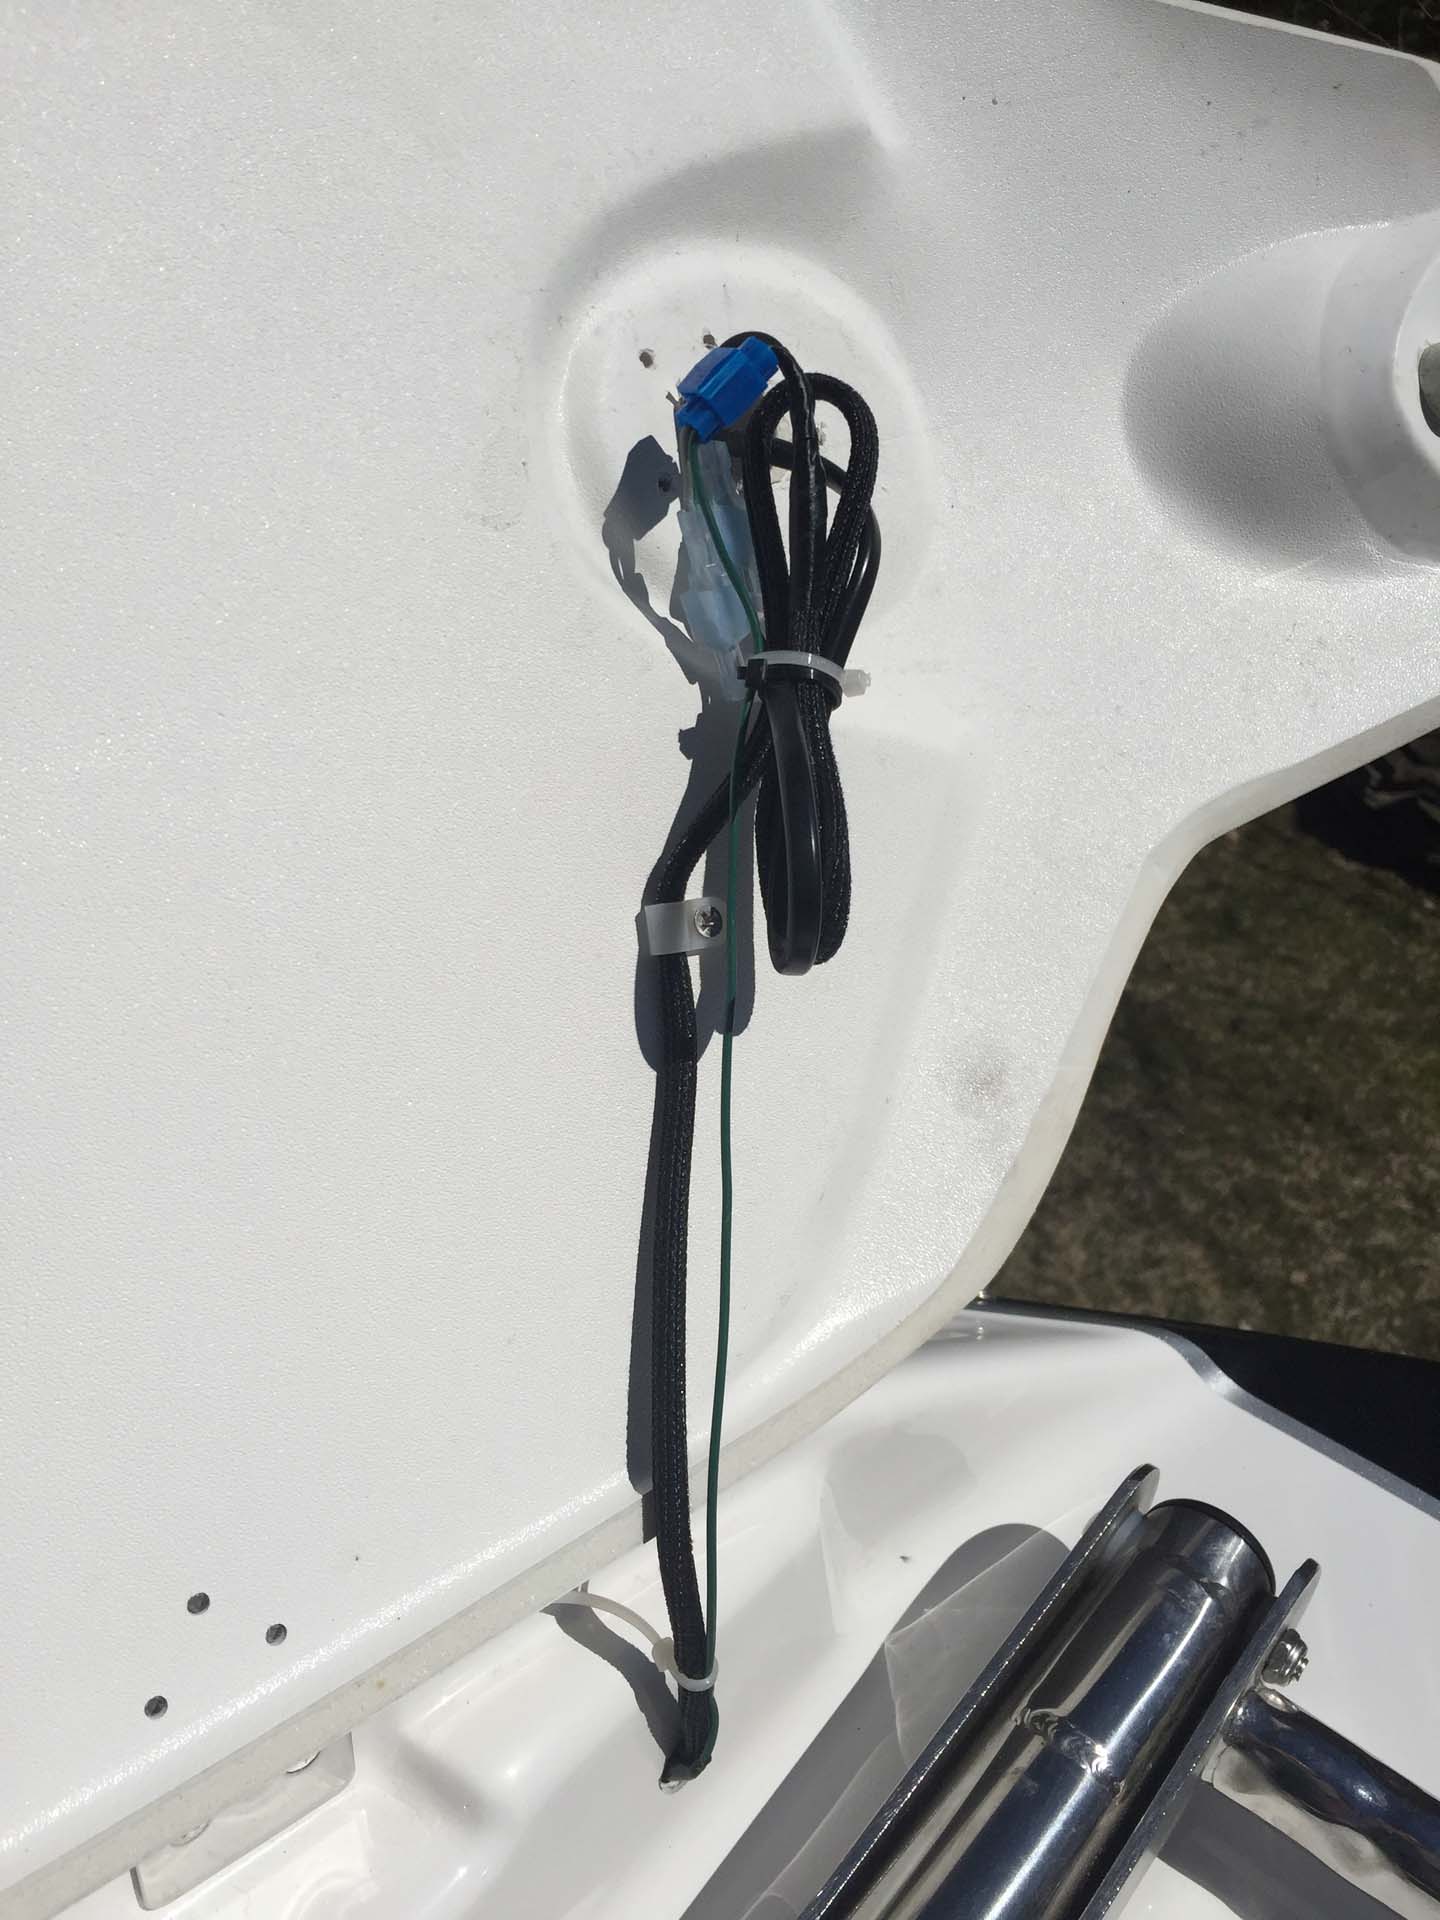
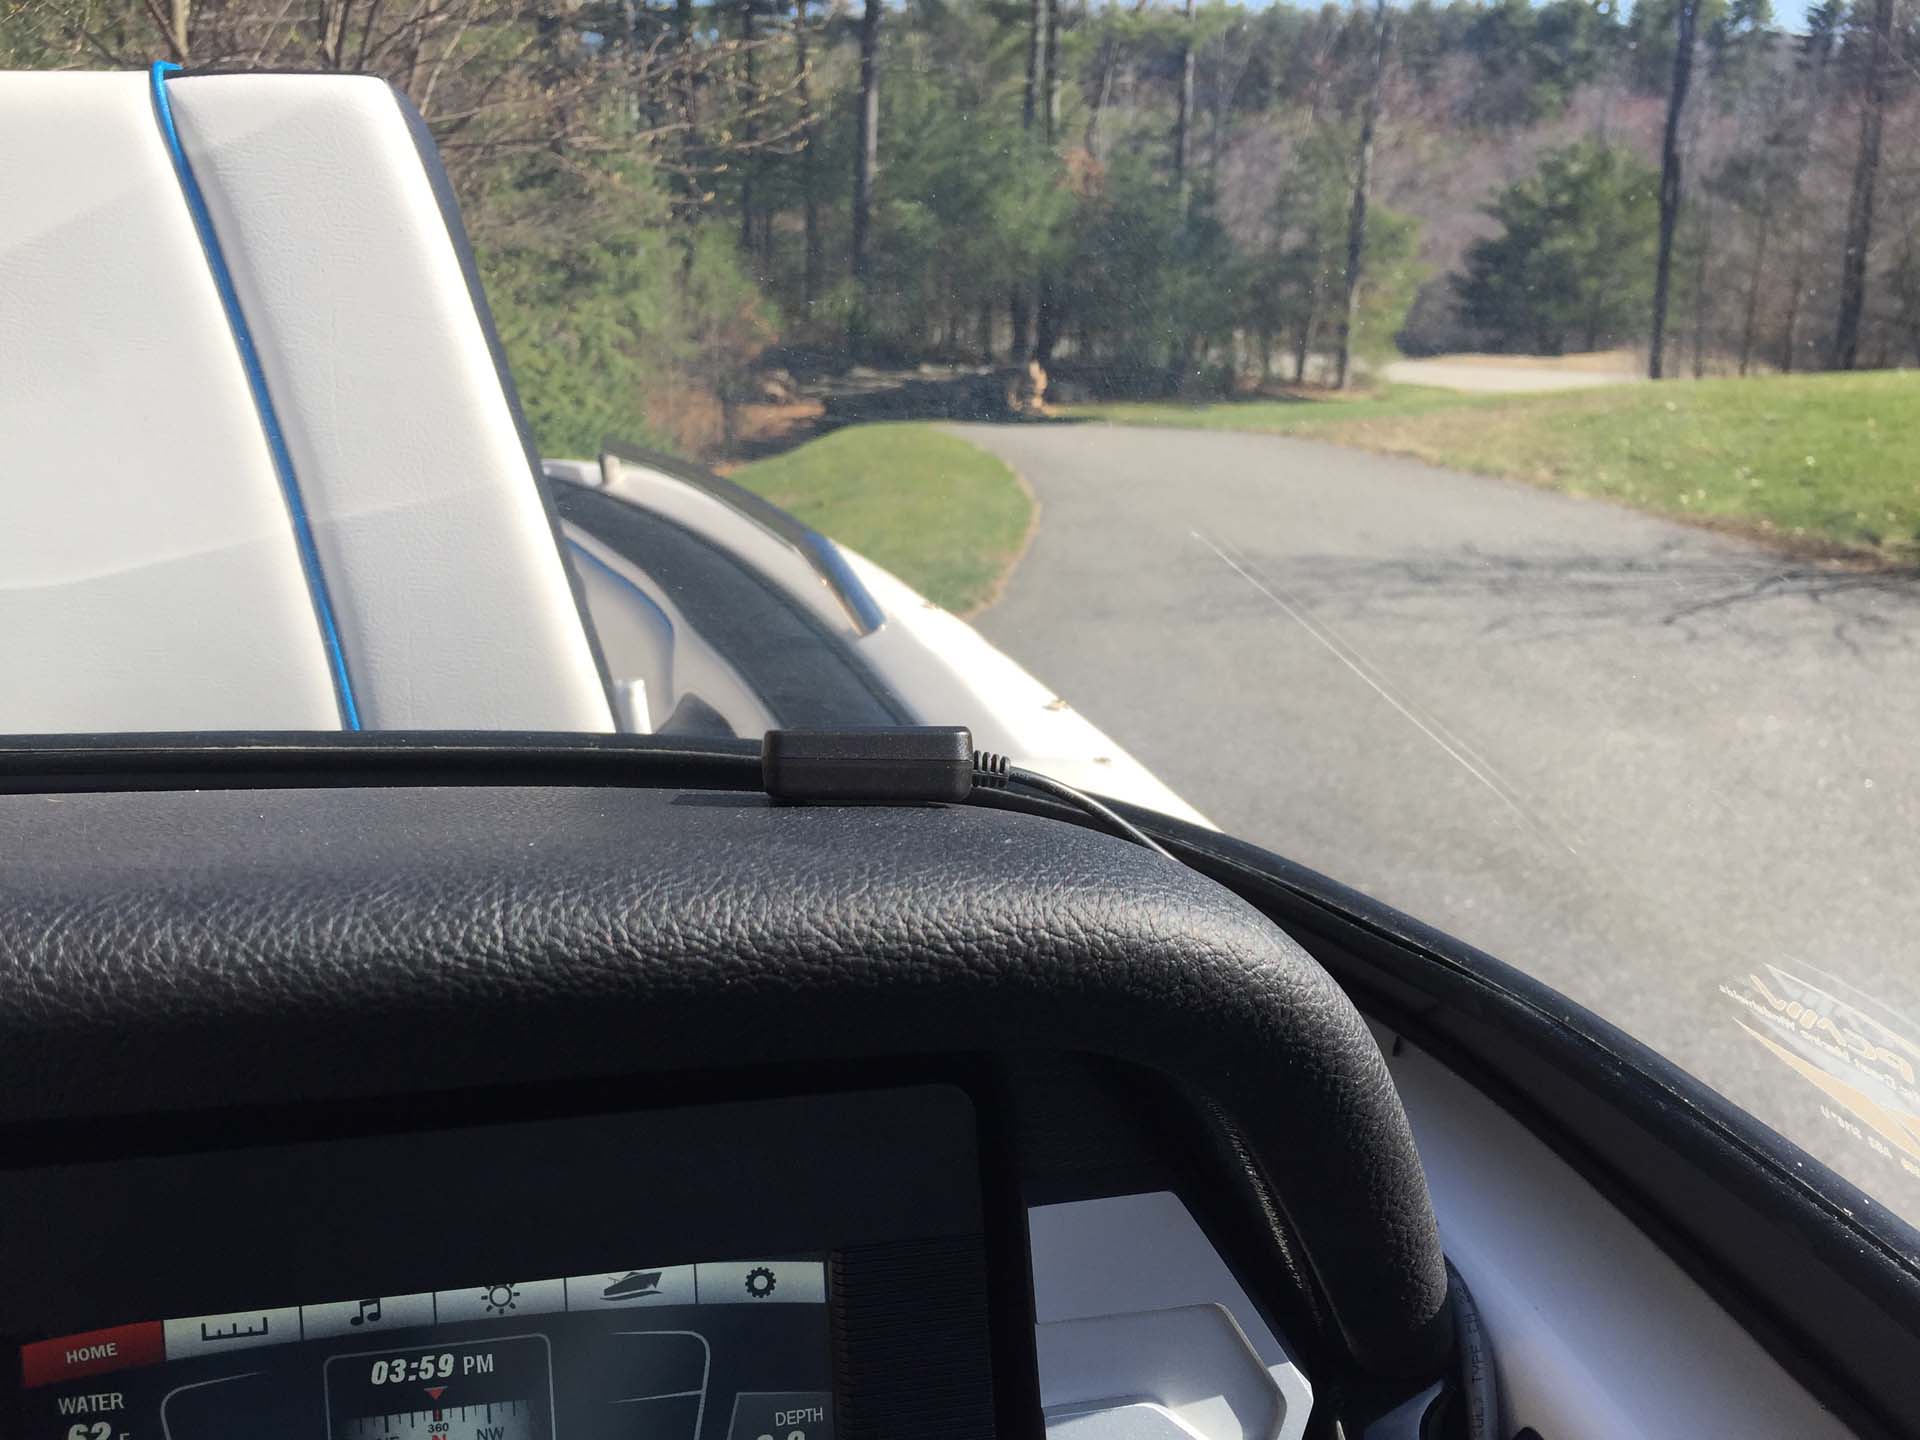
It took me a bit longer, but I was very picky about neatly running wires along the factory routes.
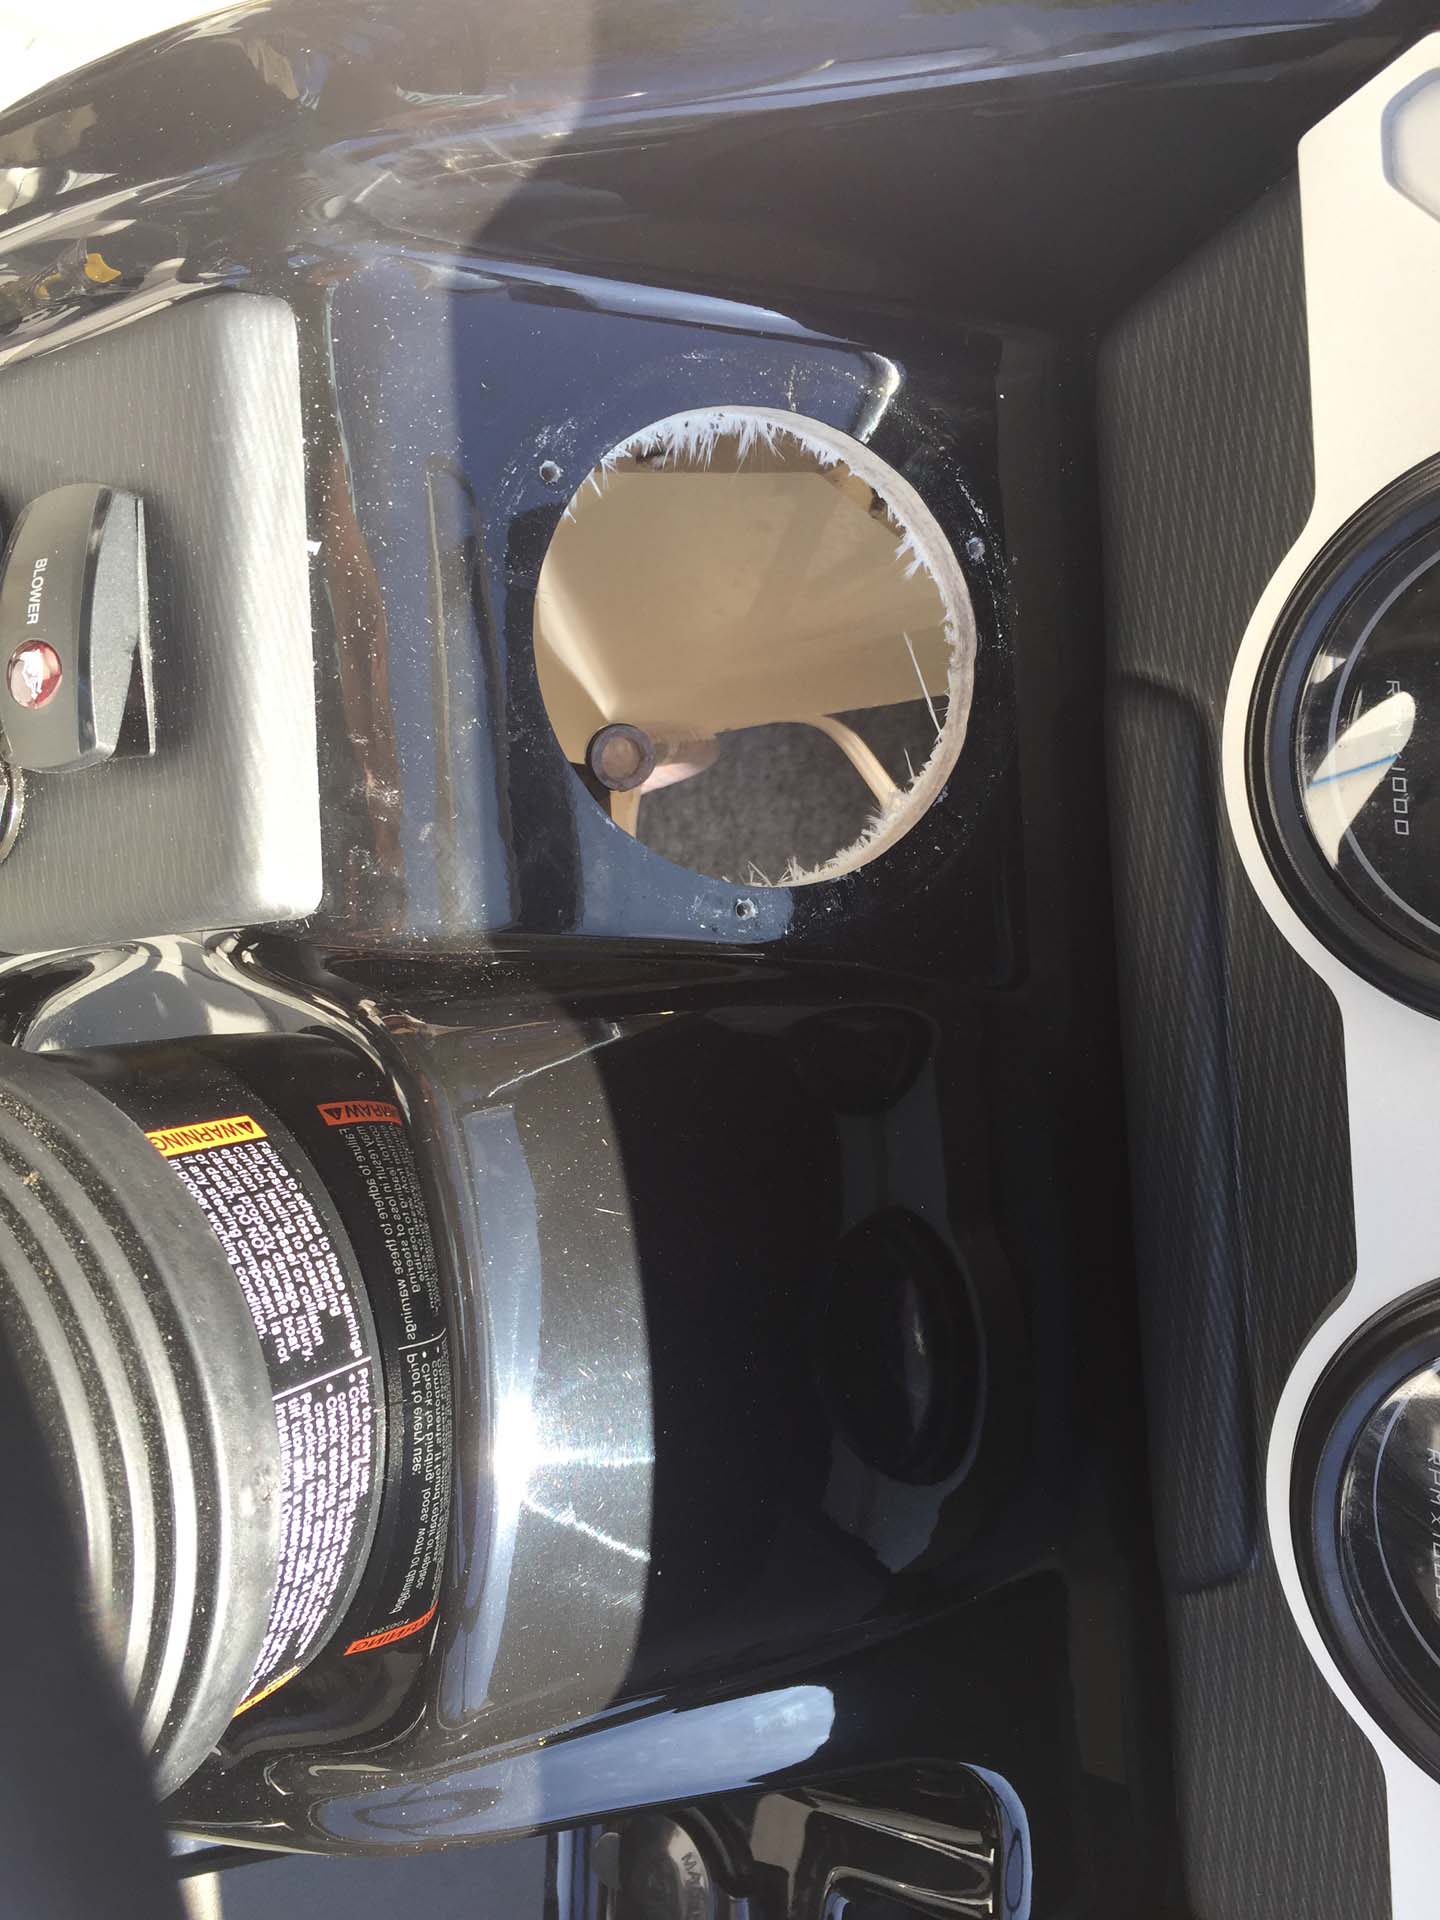
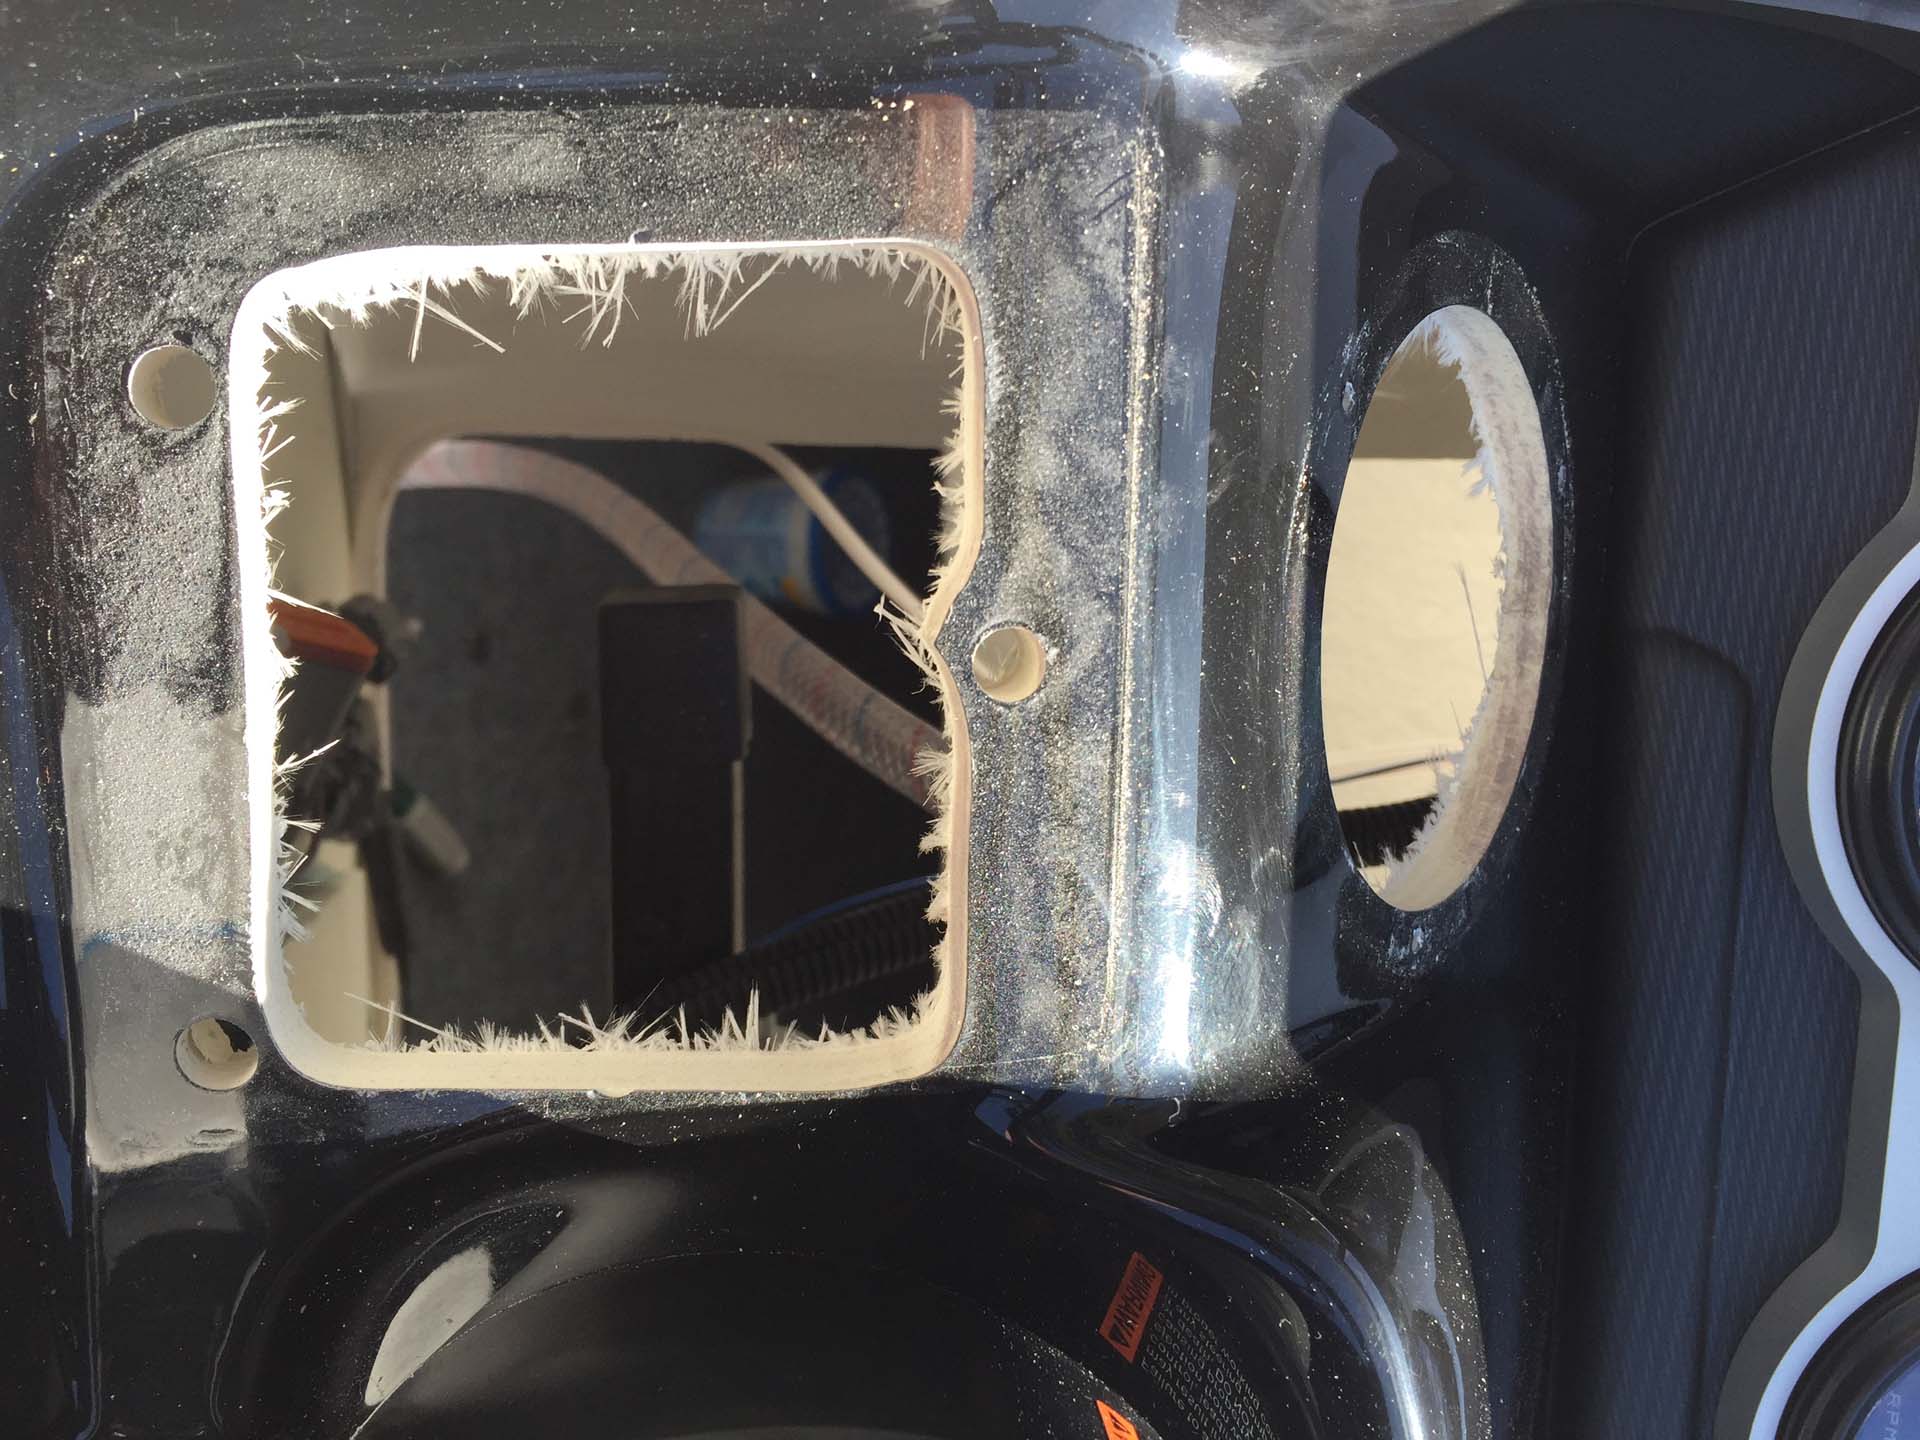
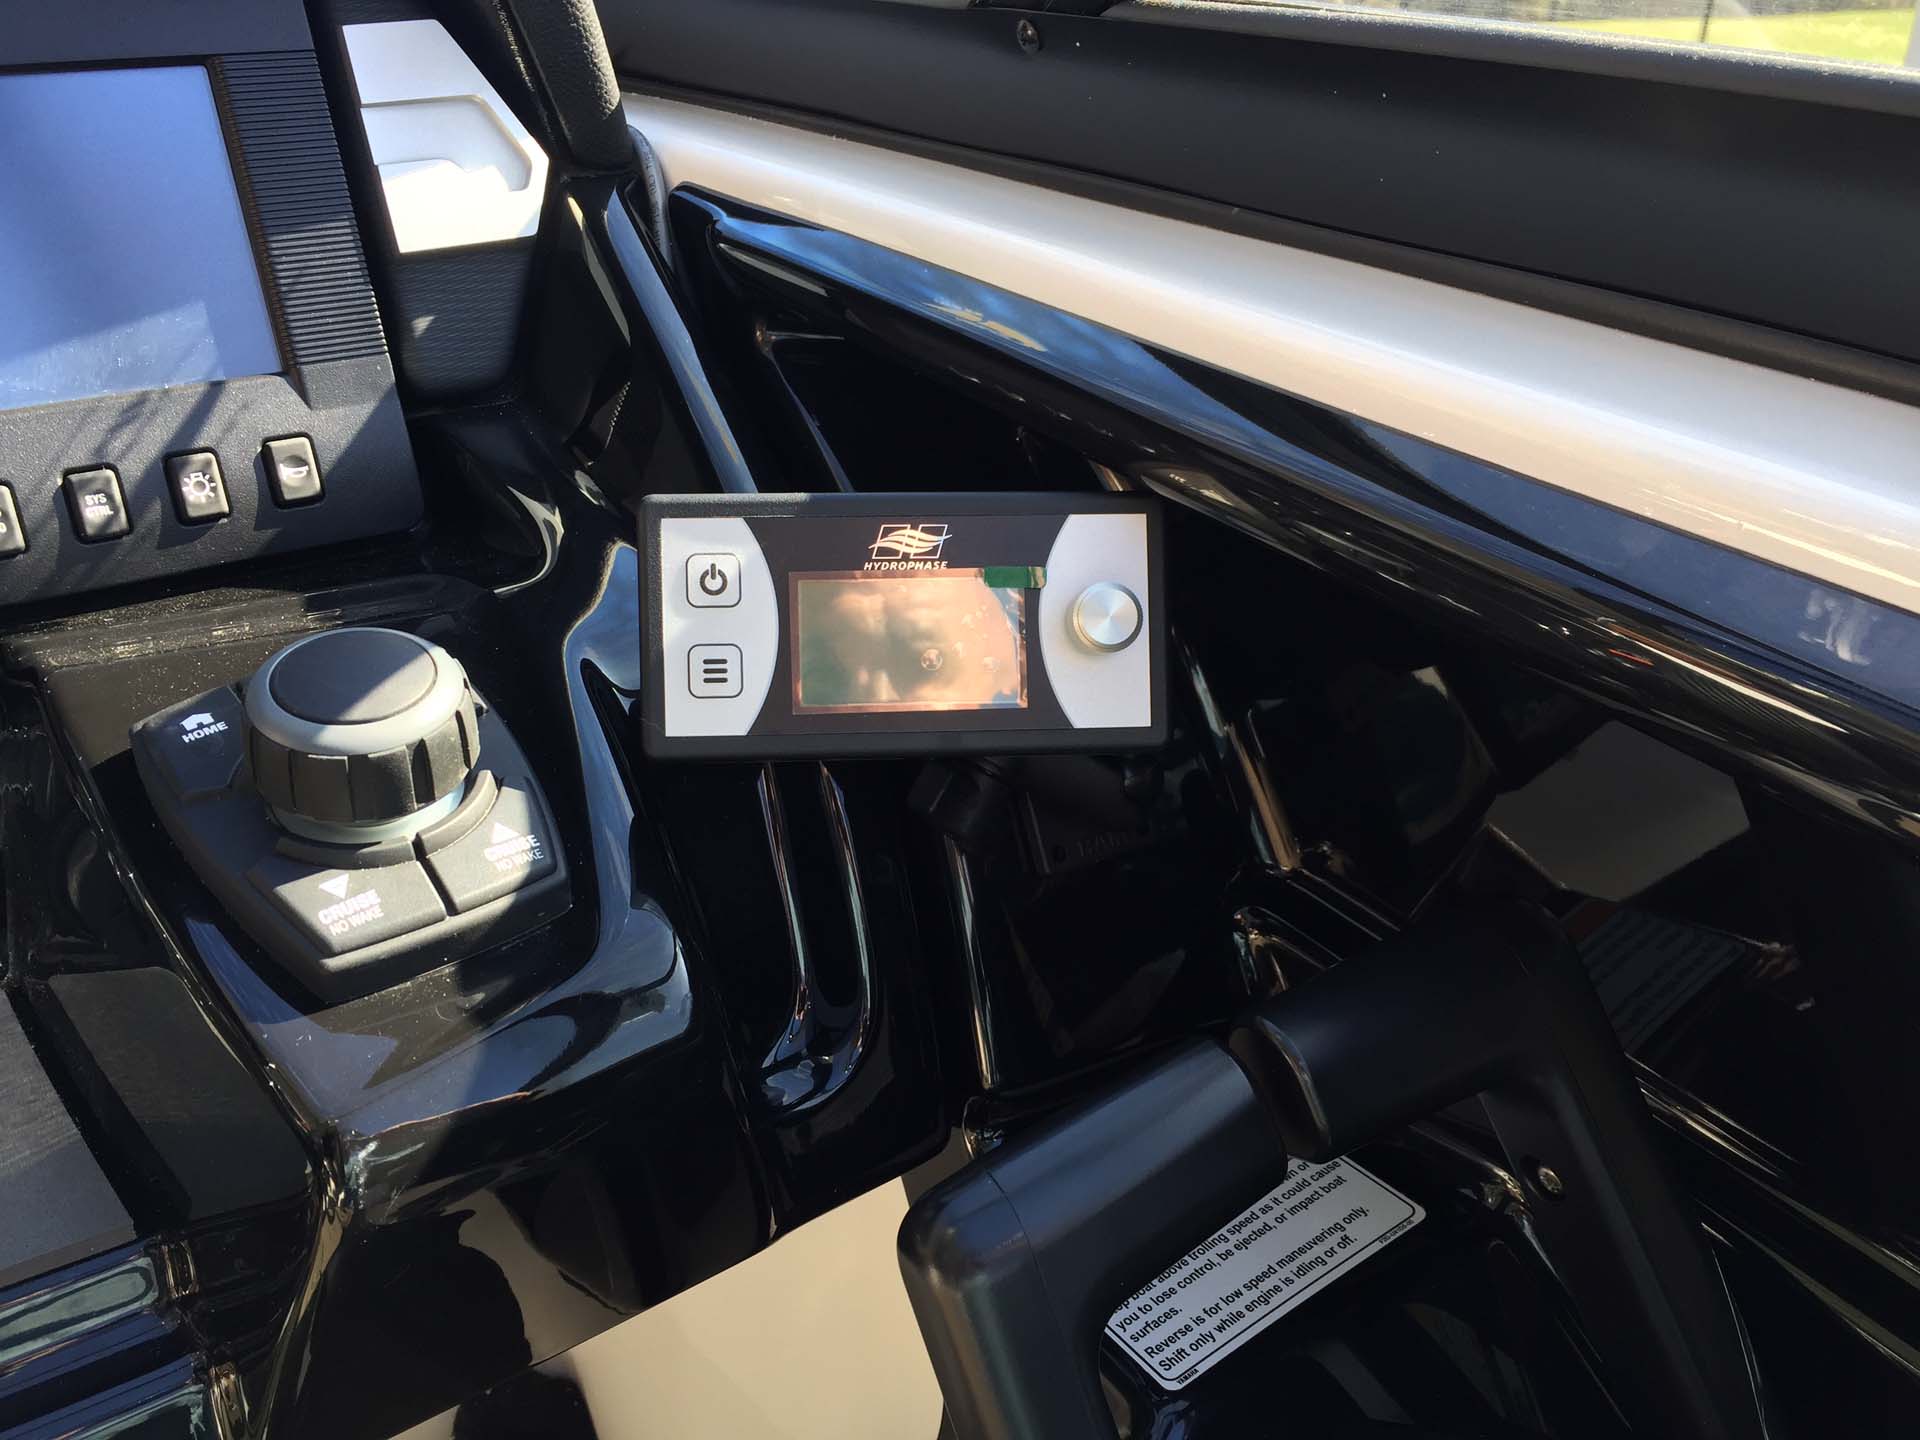
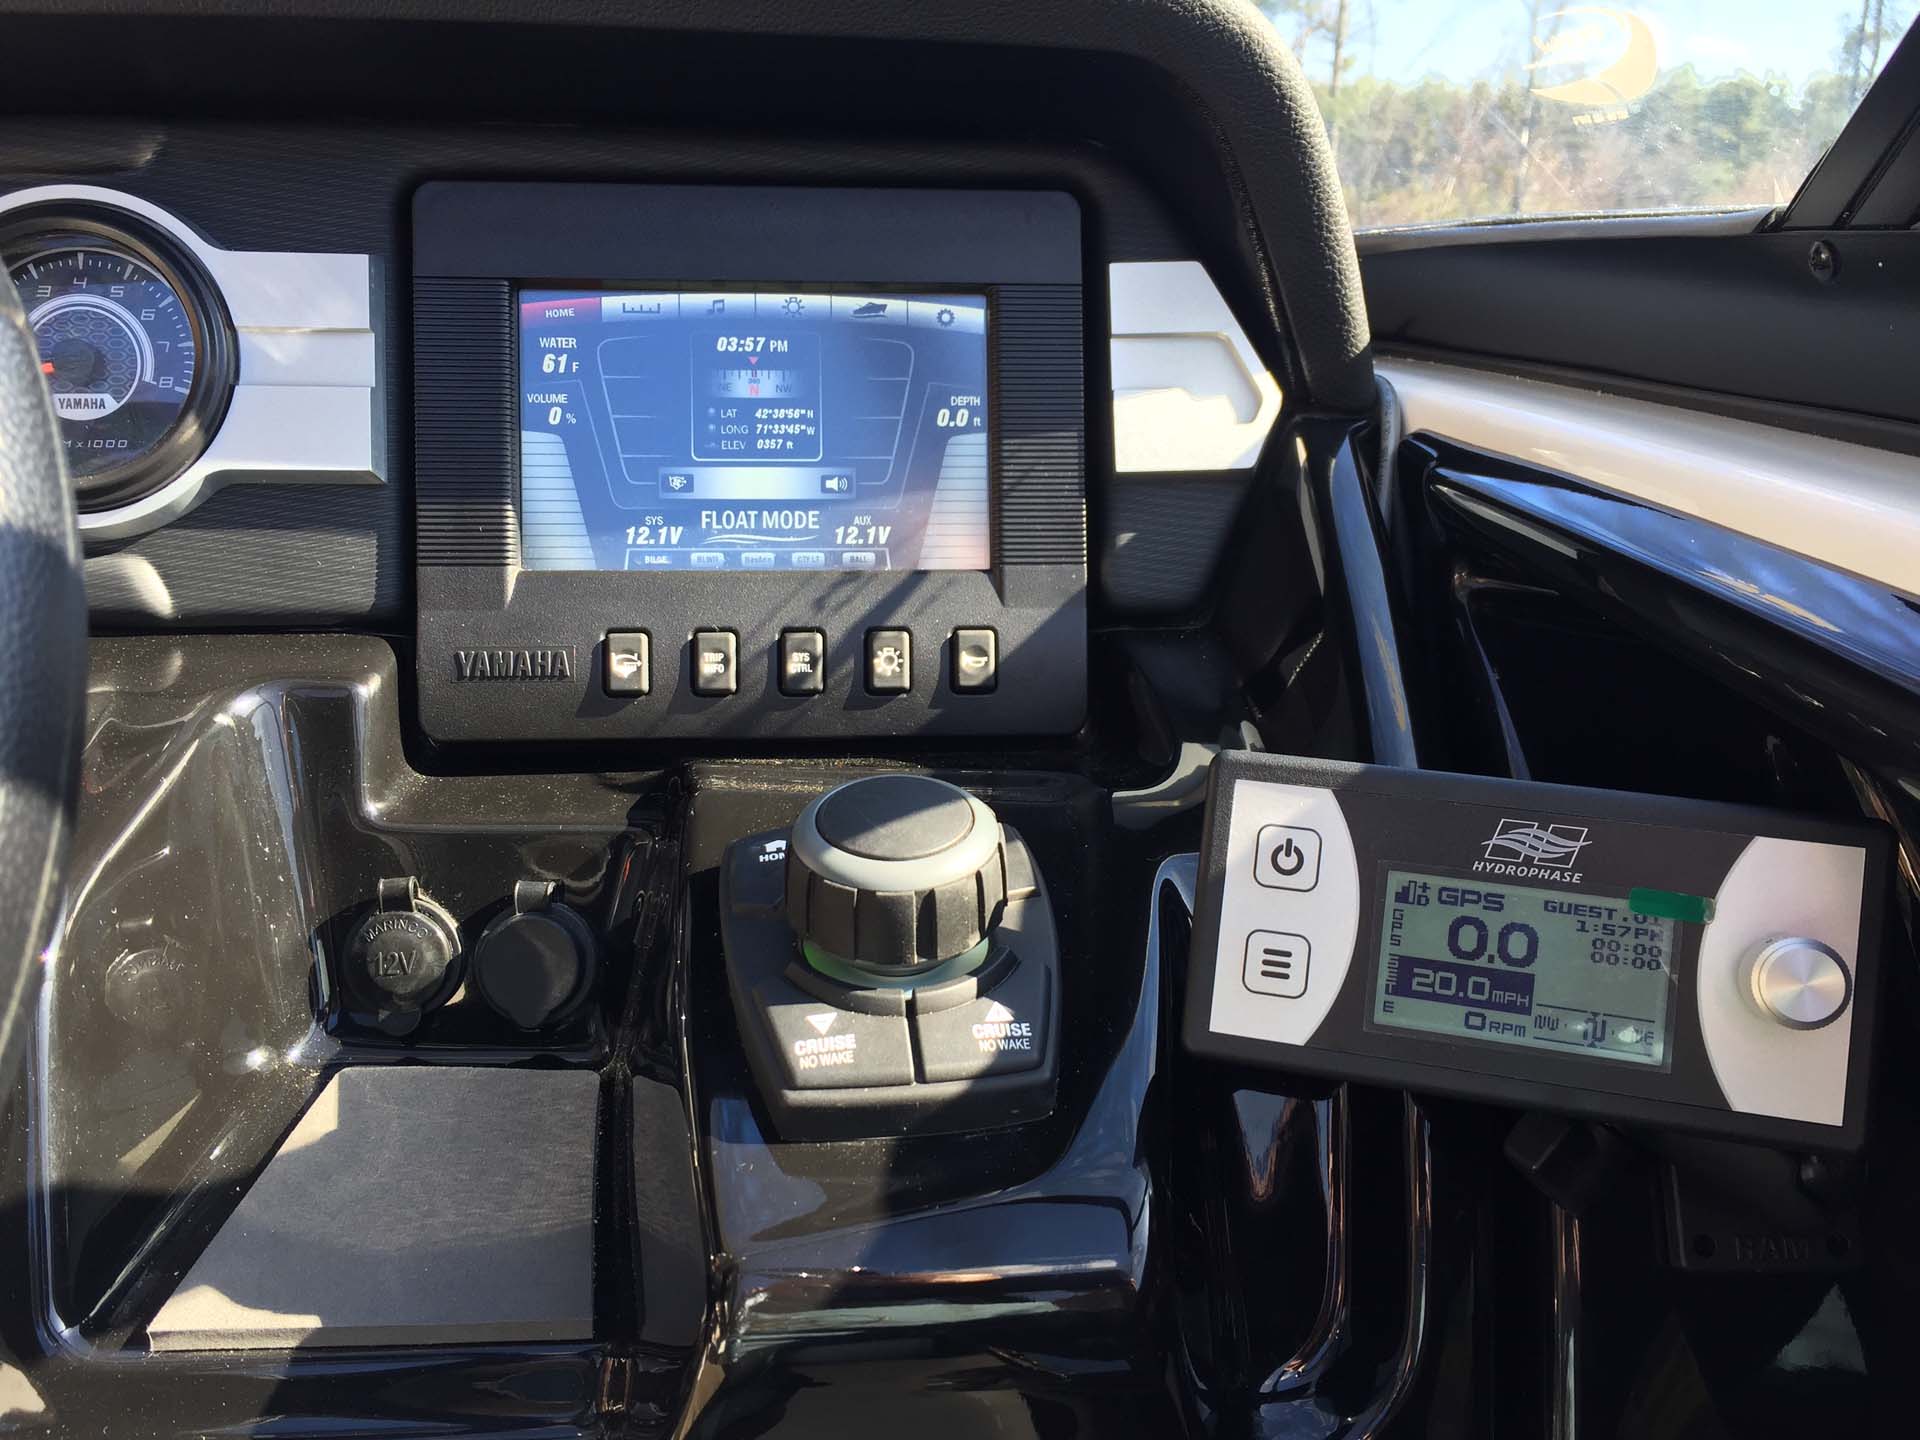
Instructions were easy to follow and online video and install pics helped a ton - especially for mounting location ideas for various items including the LCD display.
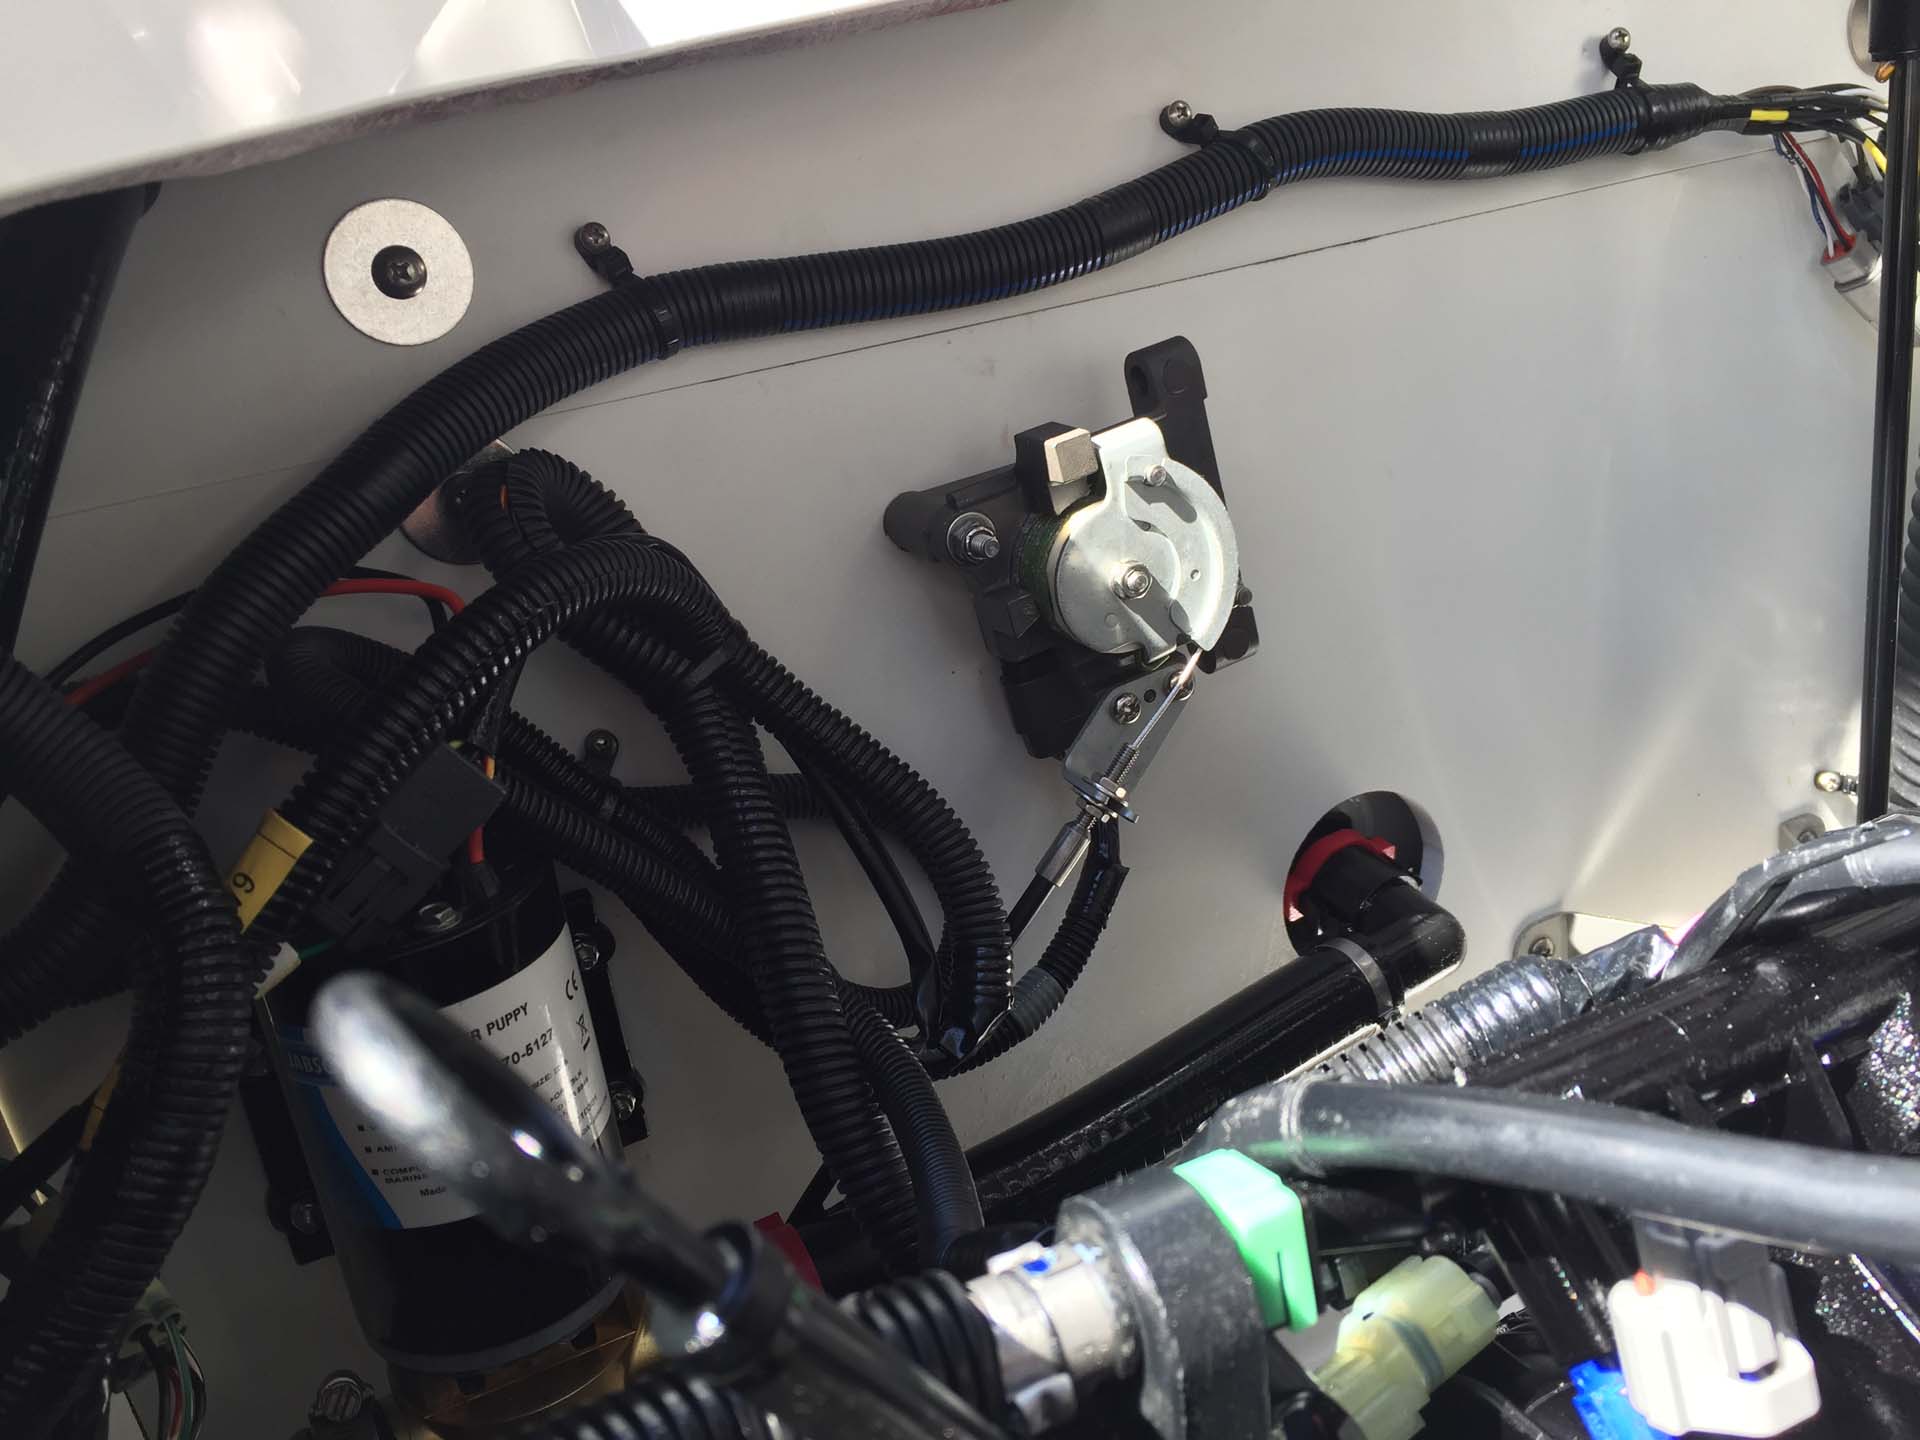
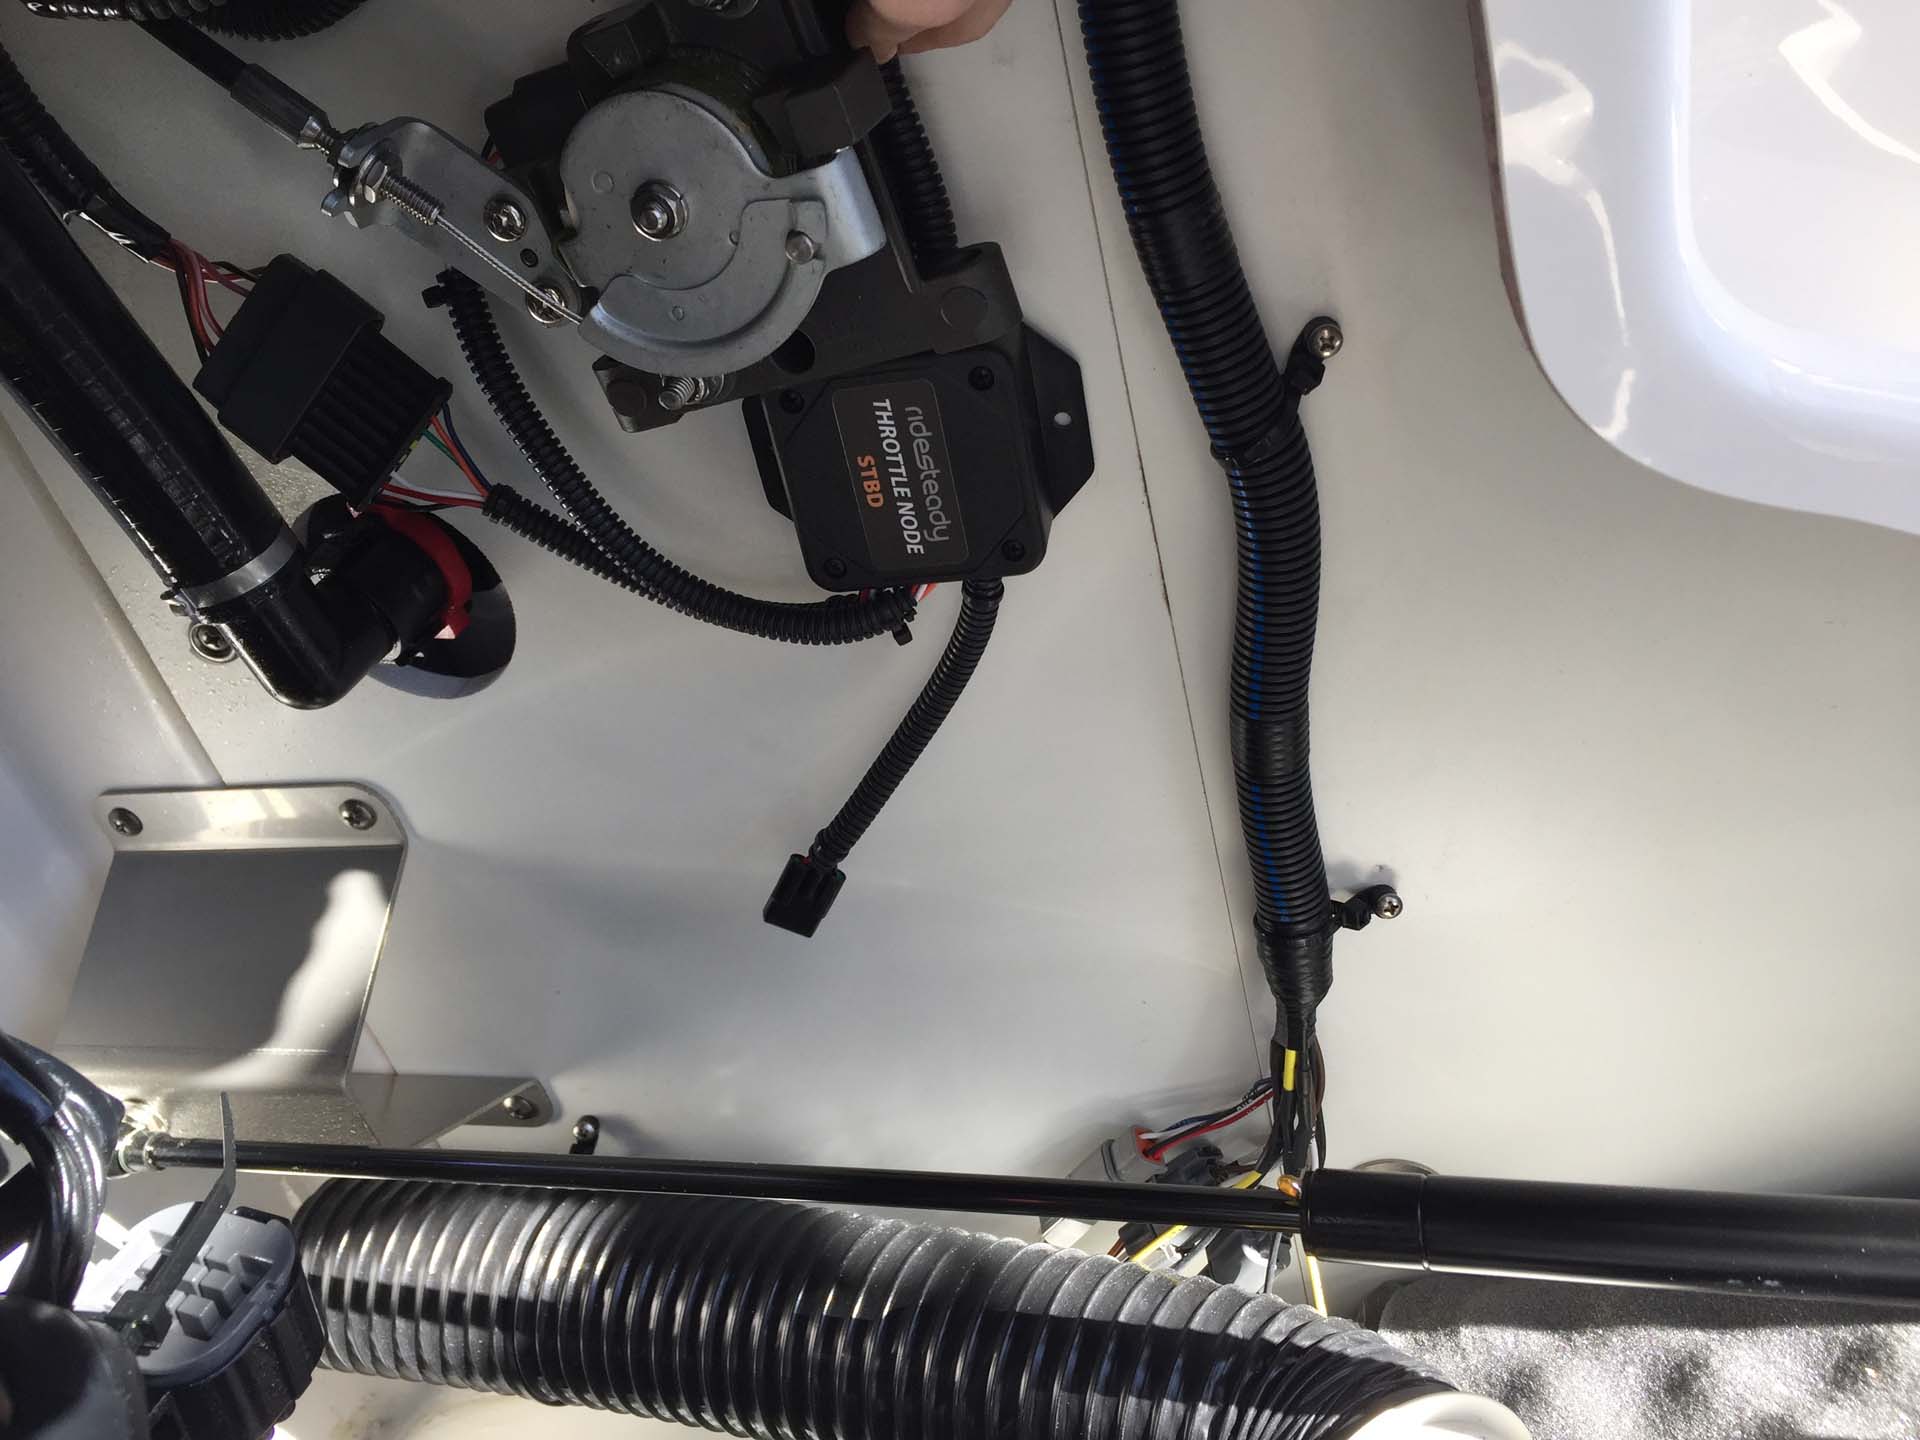
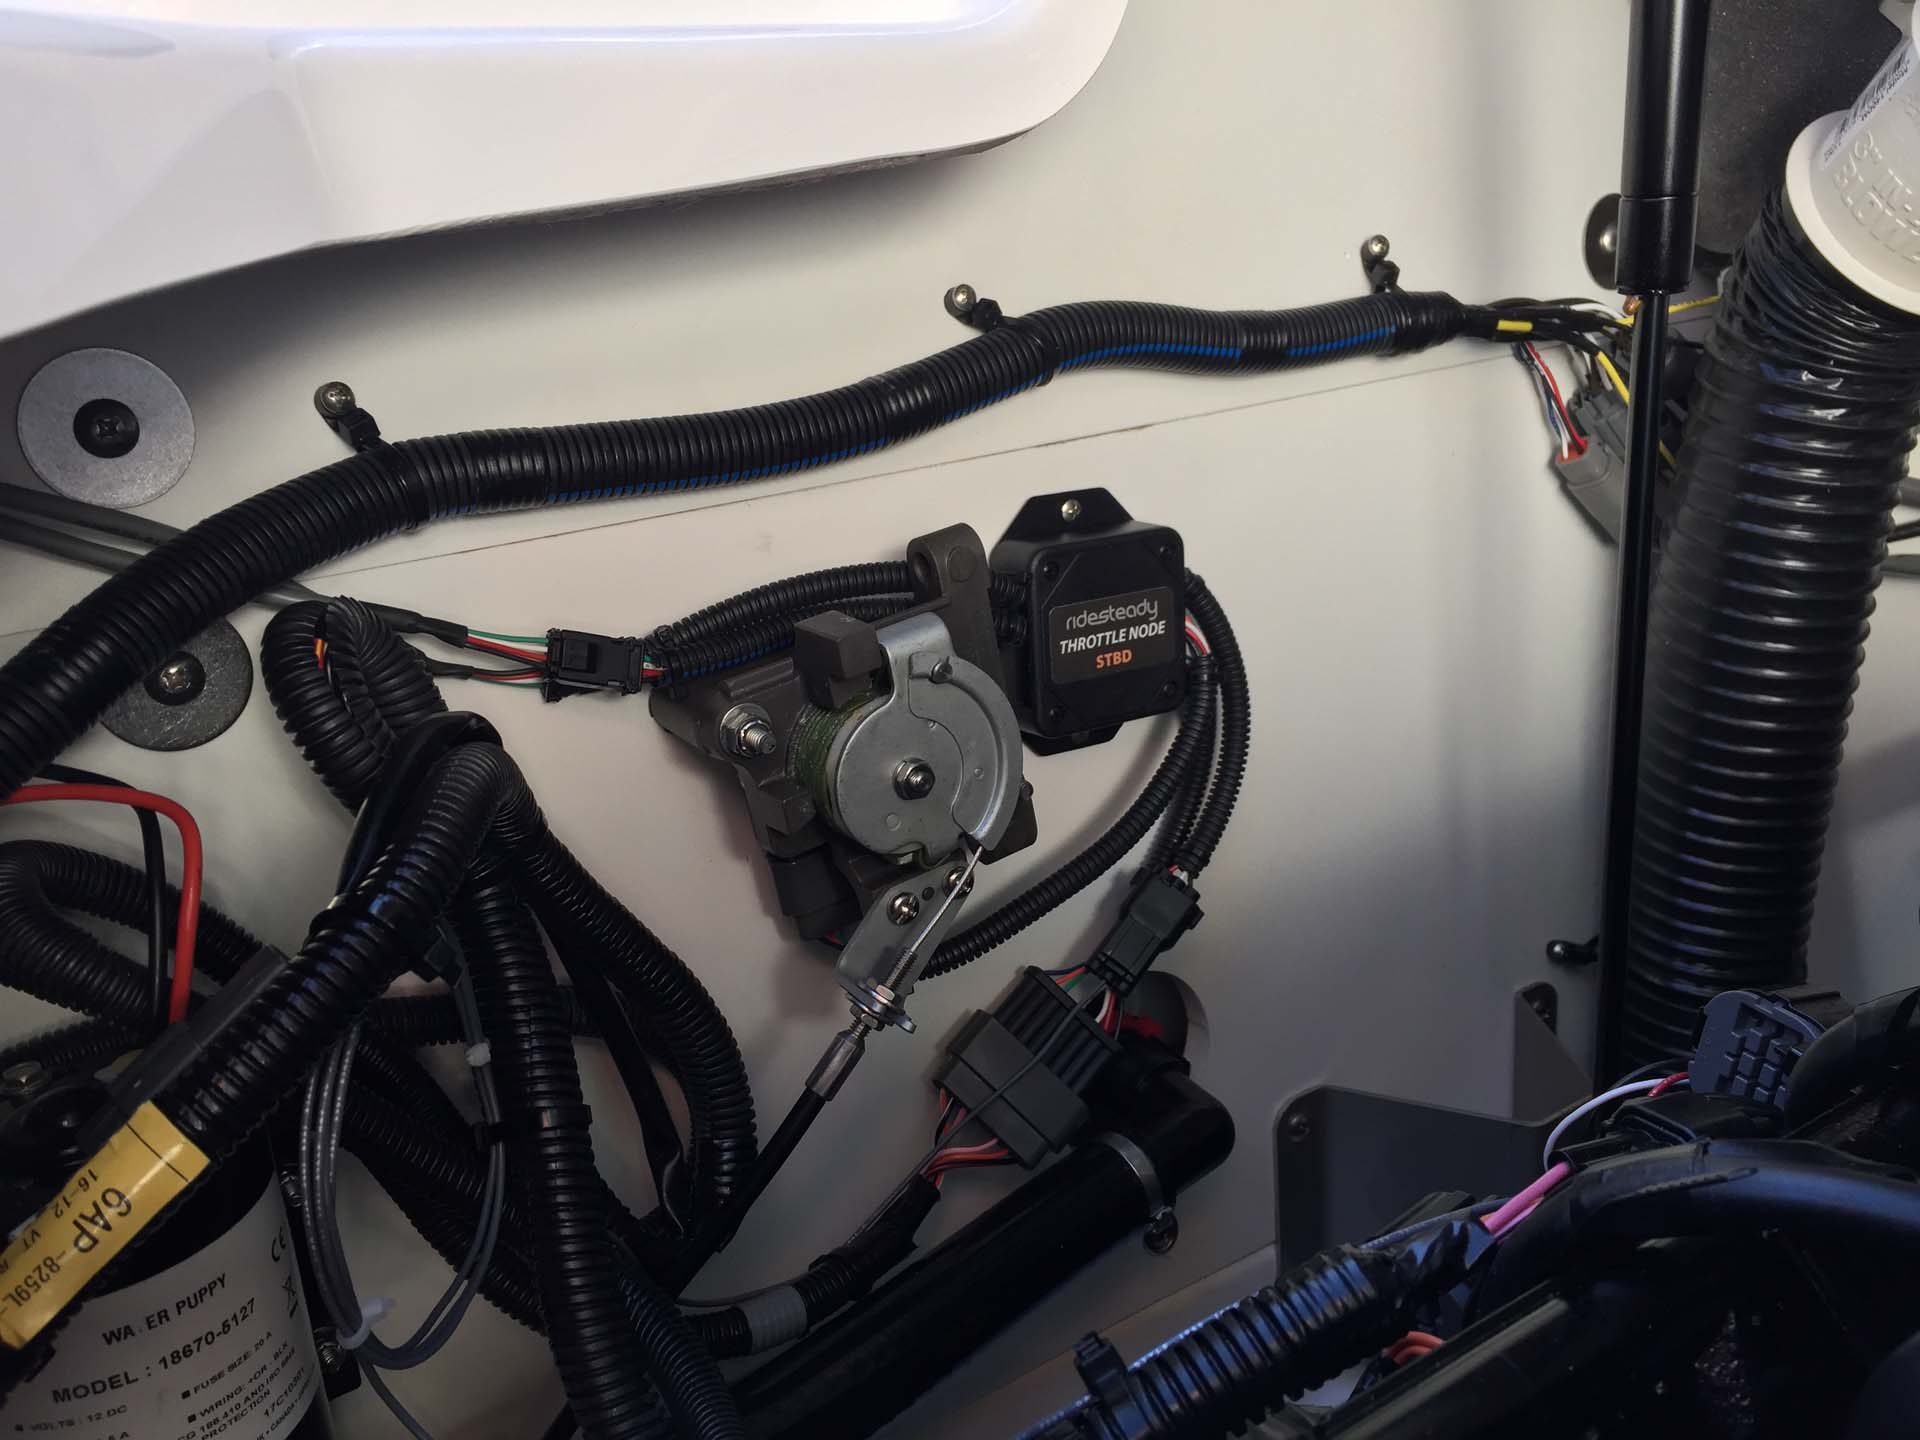
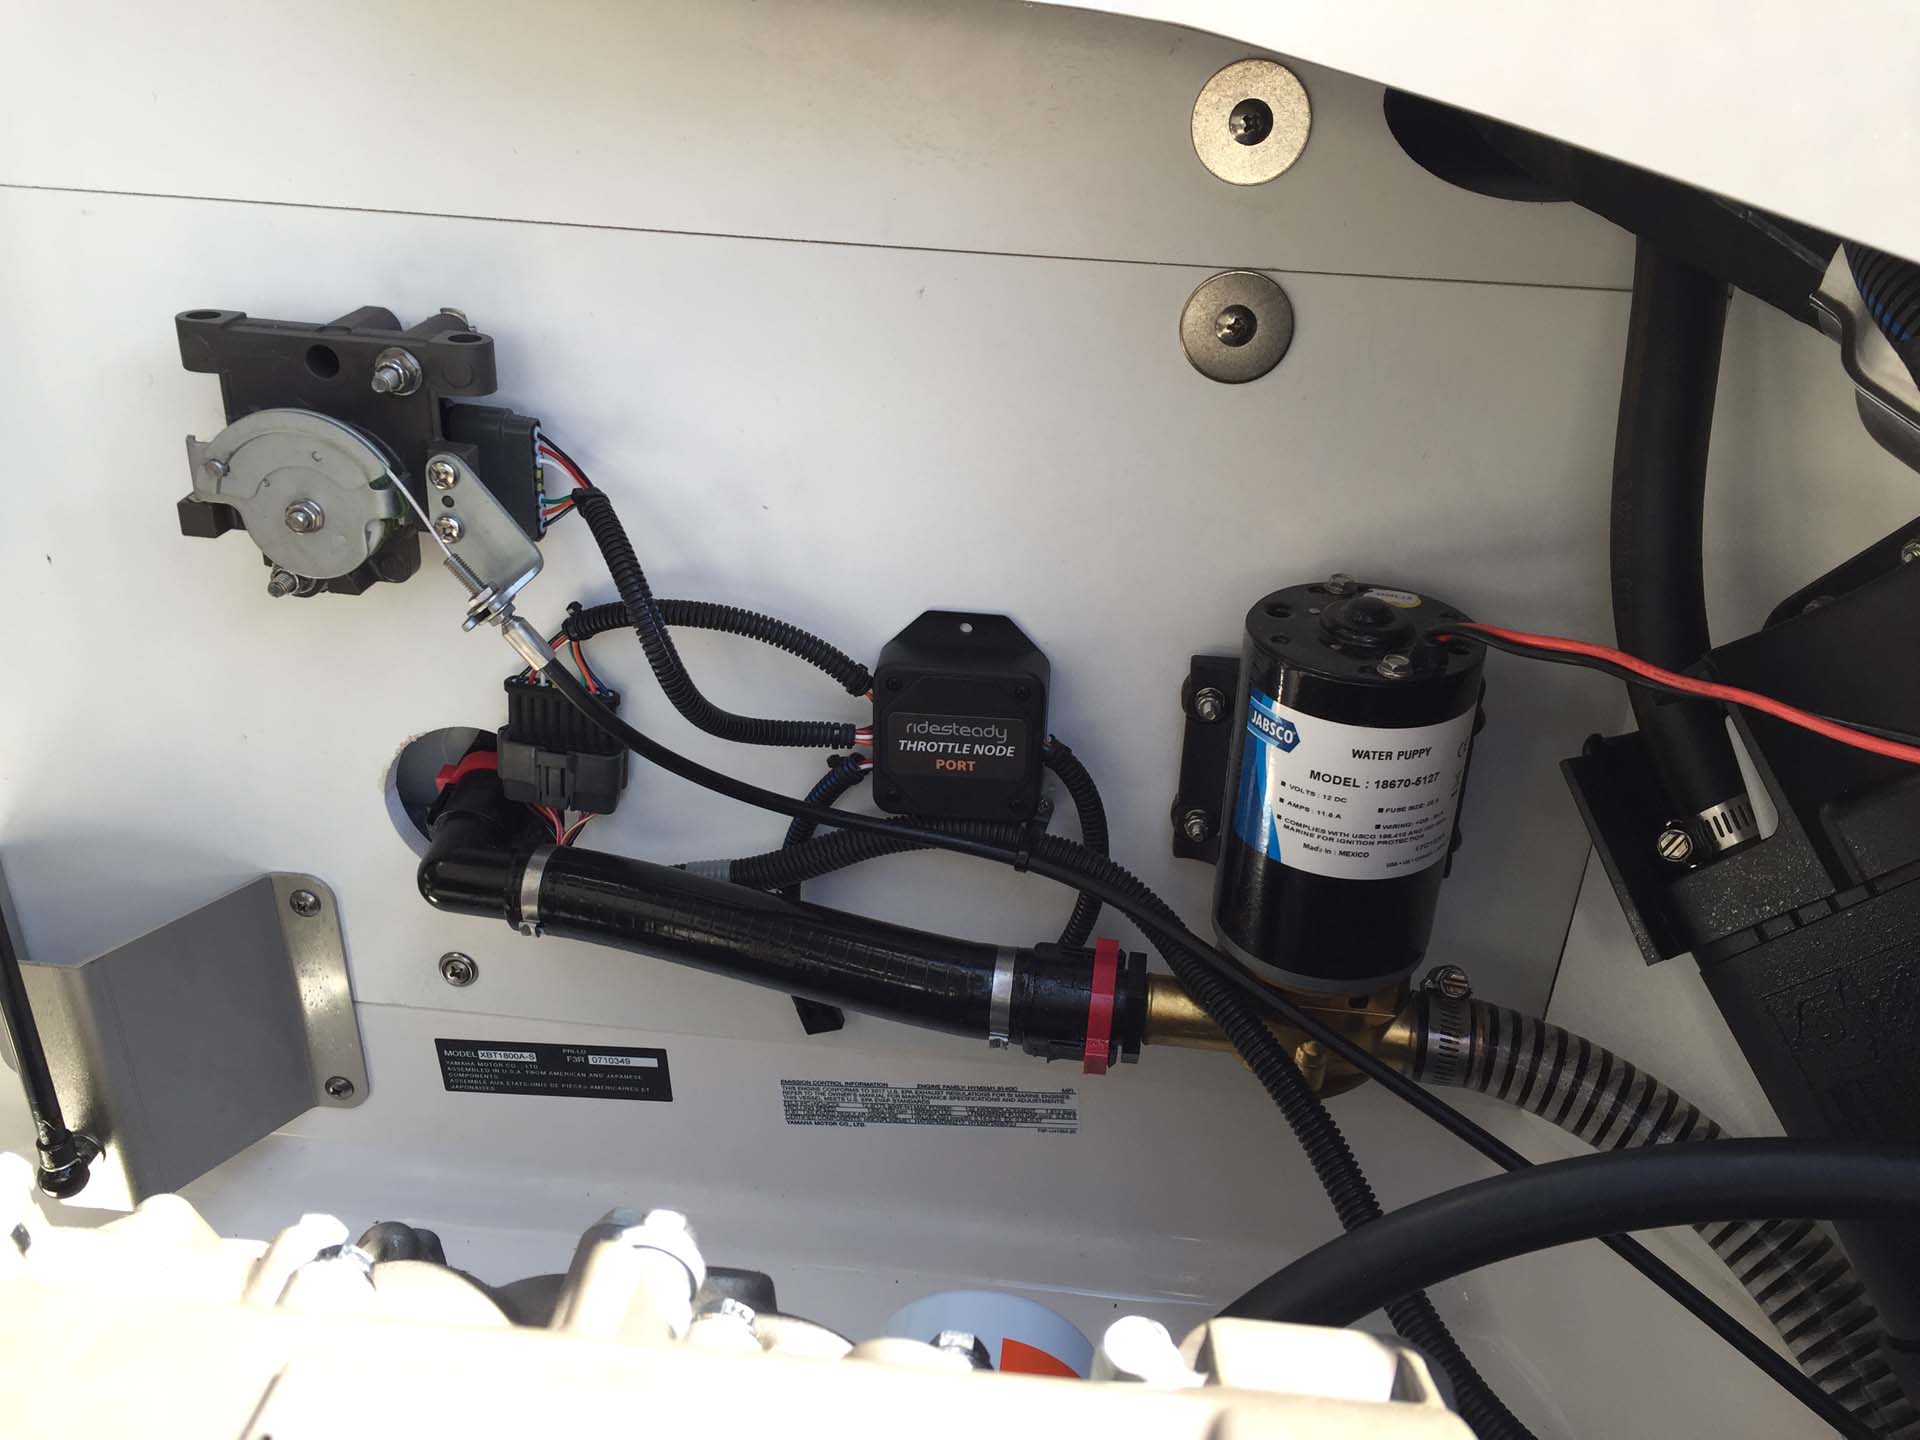
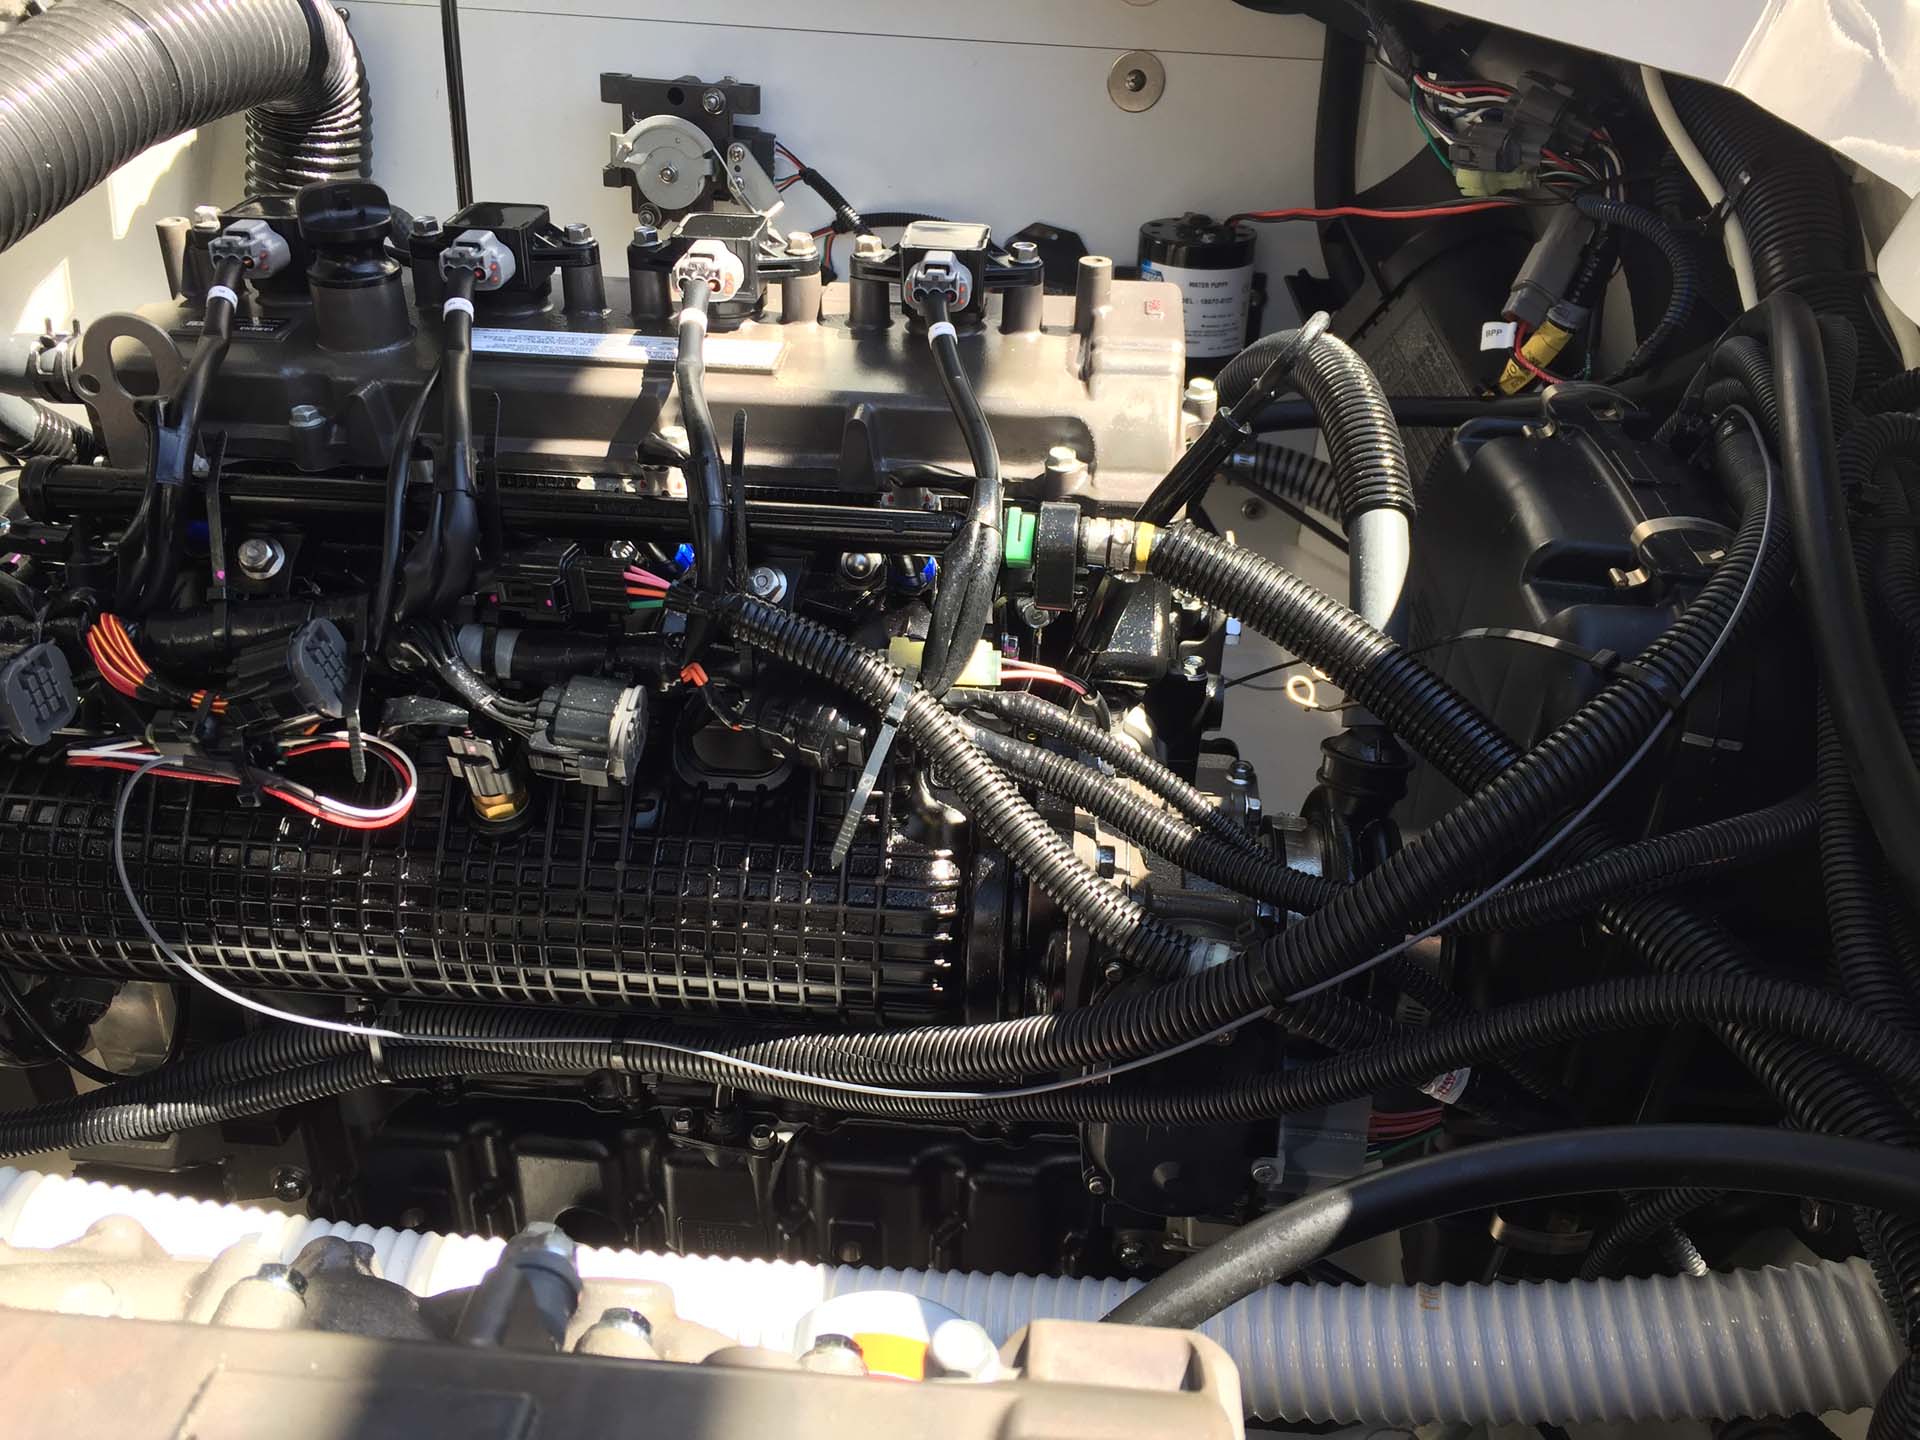
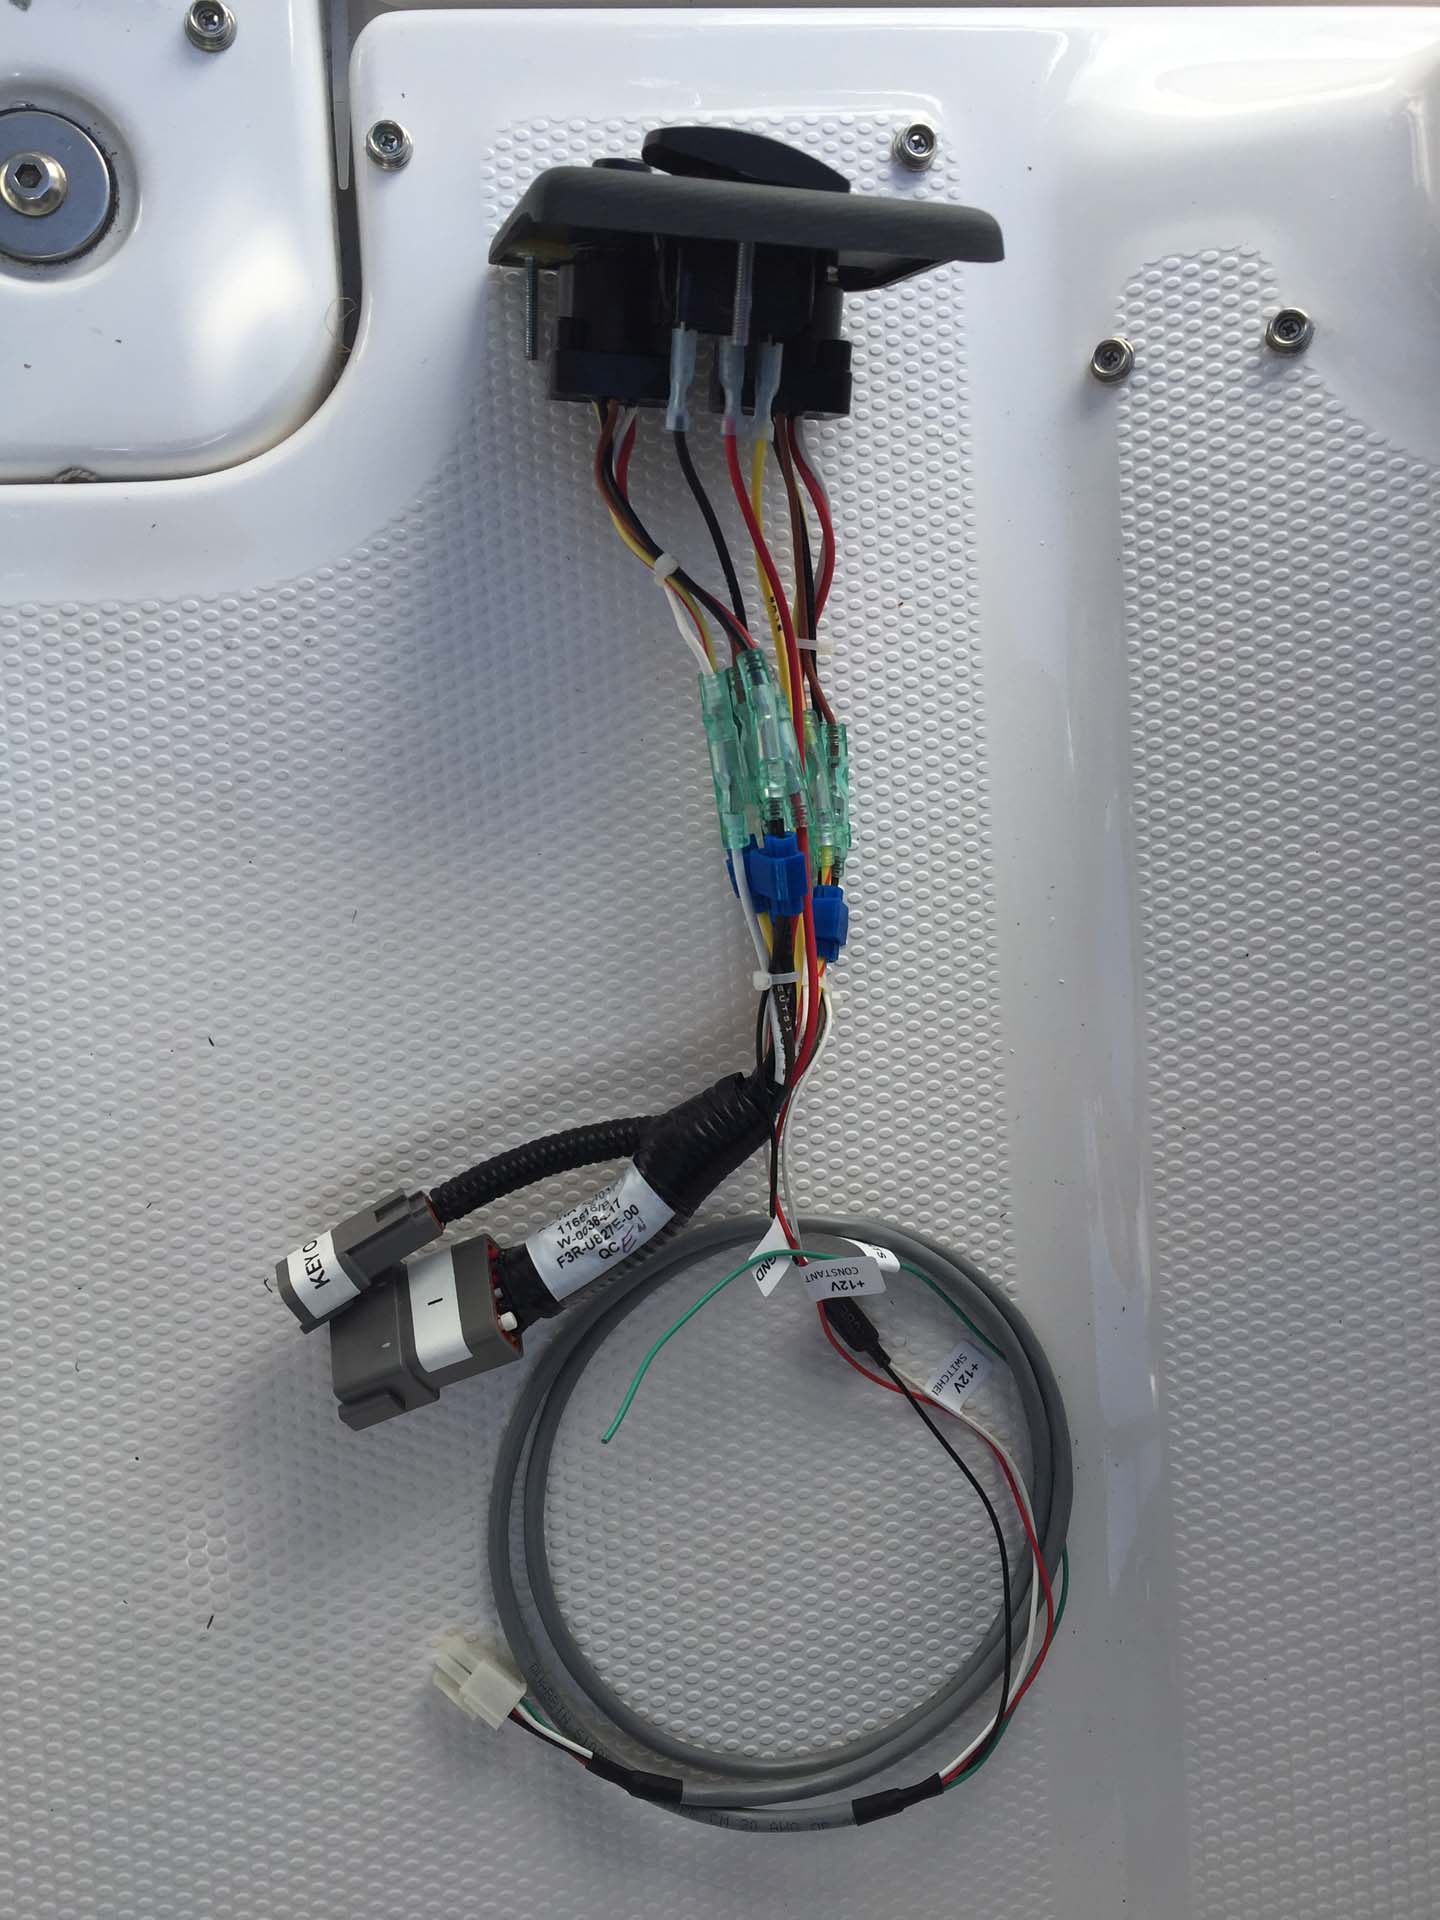
On my 212X, which has ballast tanks in the rear on both port and starboard sides, I was concerned about puncturing the tanks with the supplied screws. I ended up using 1/2" SS screws for mounting the throttle nodes - they worked great!
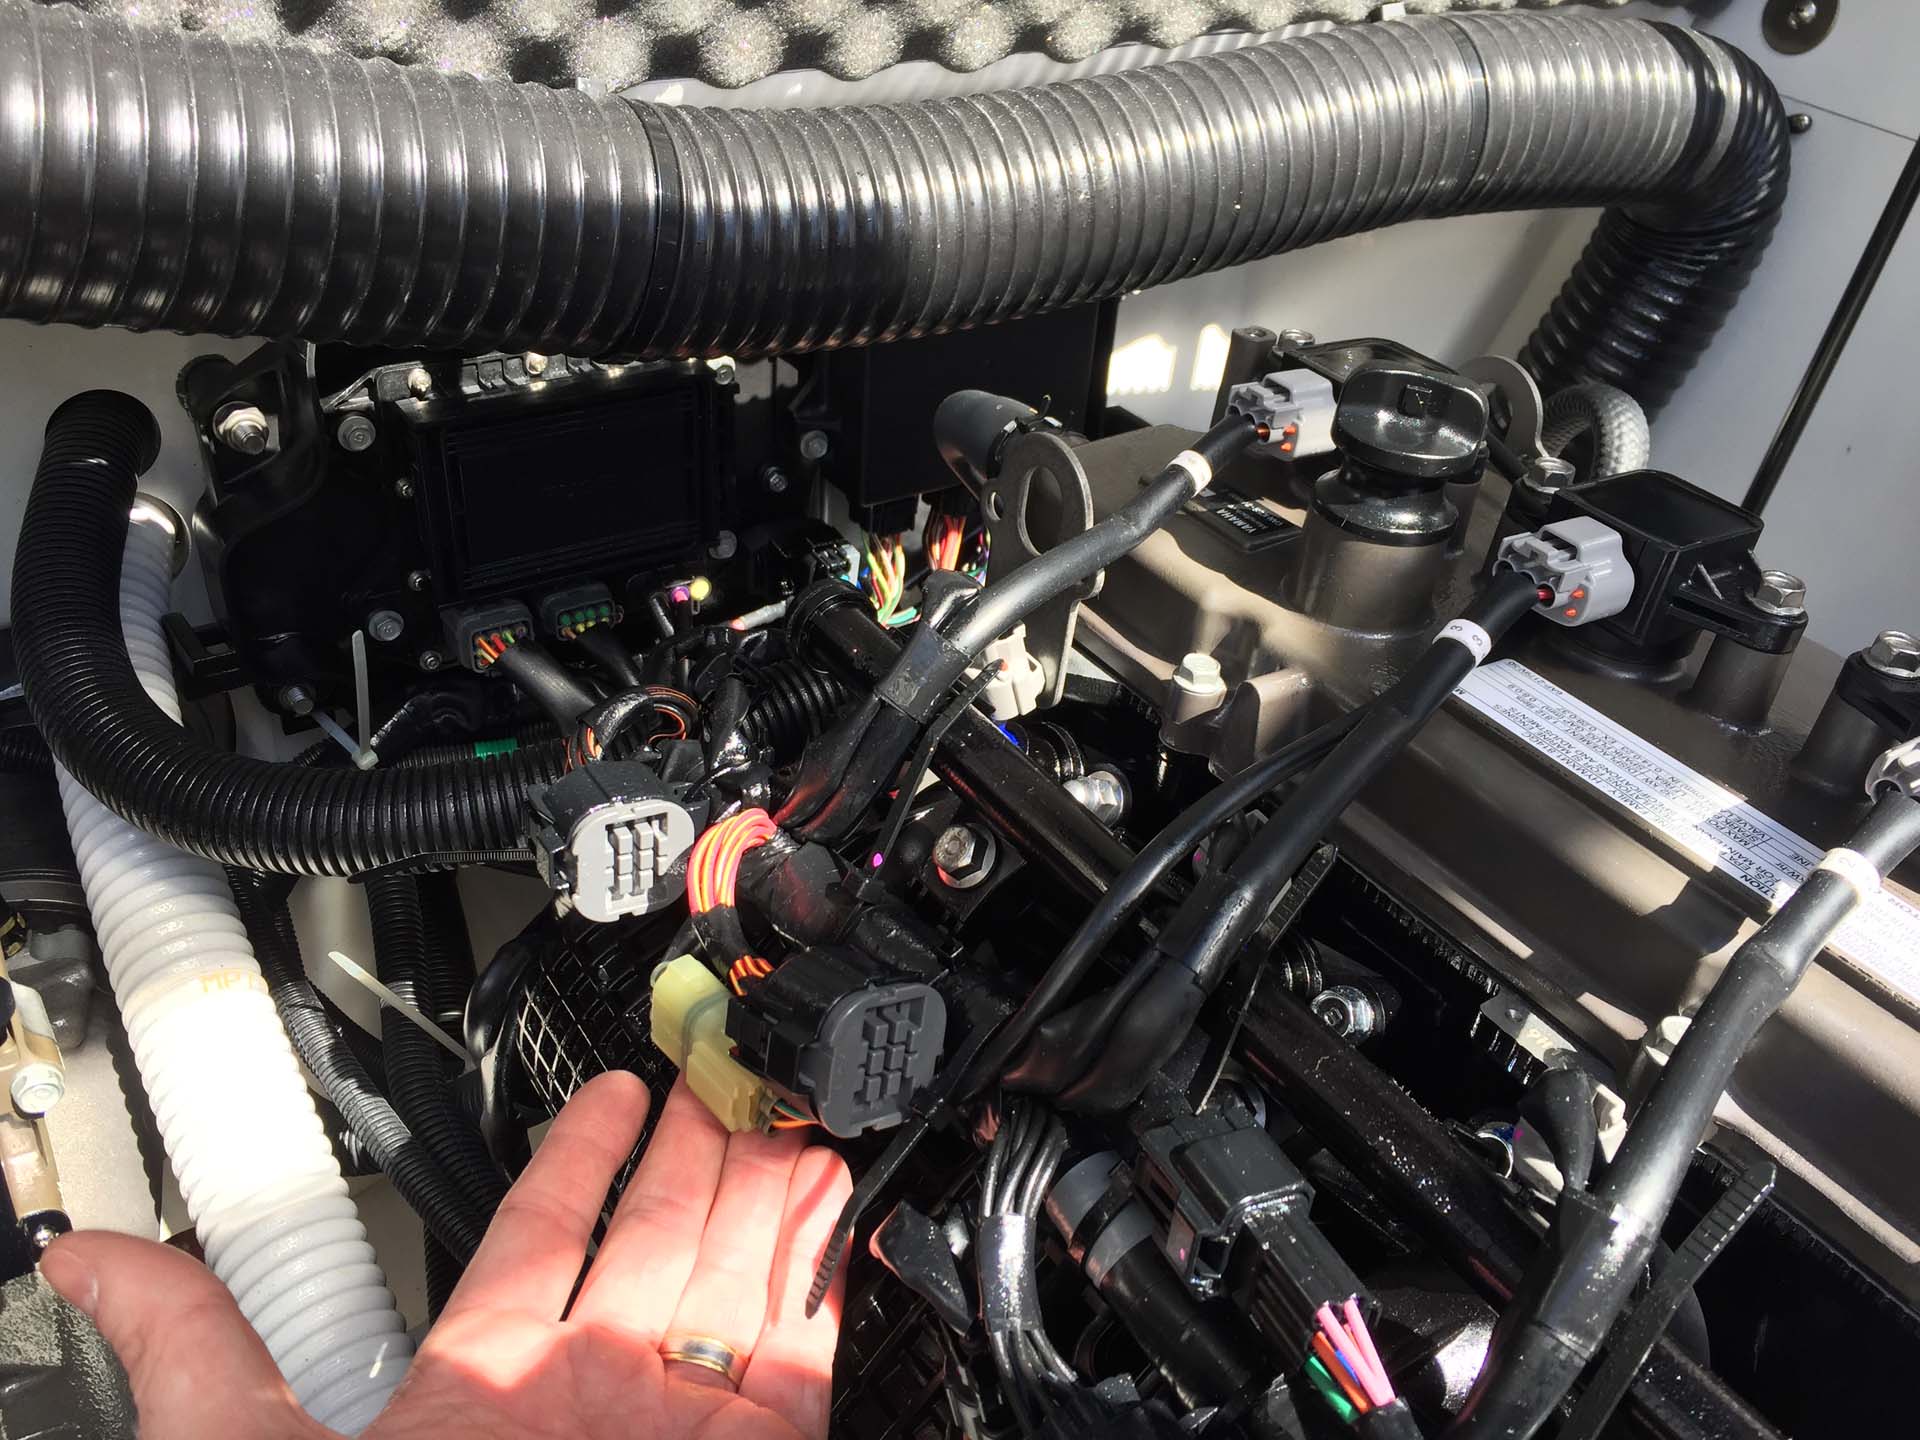
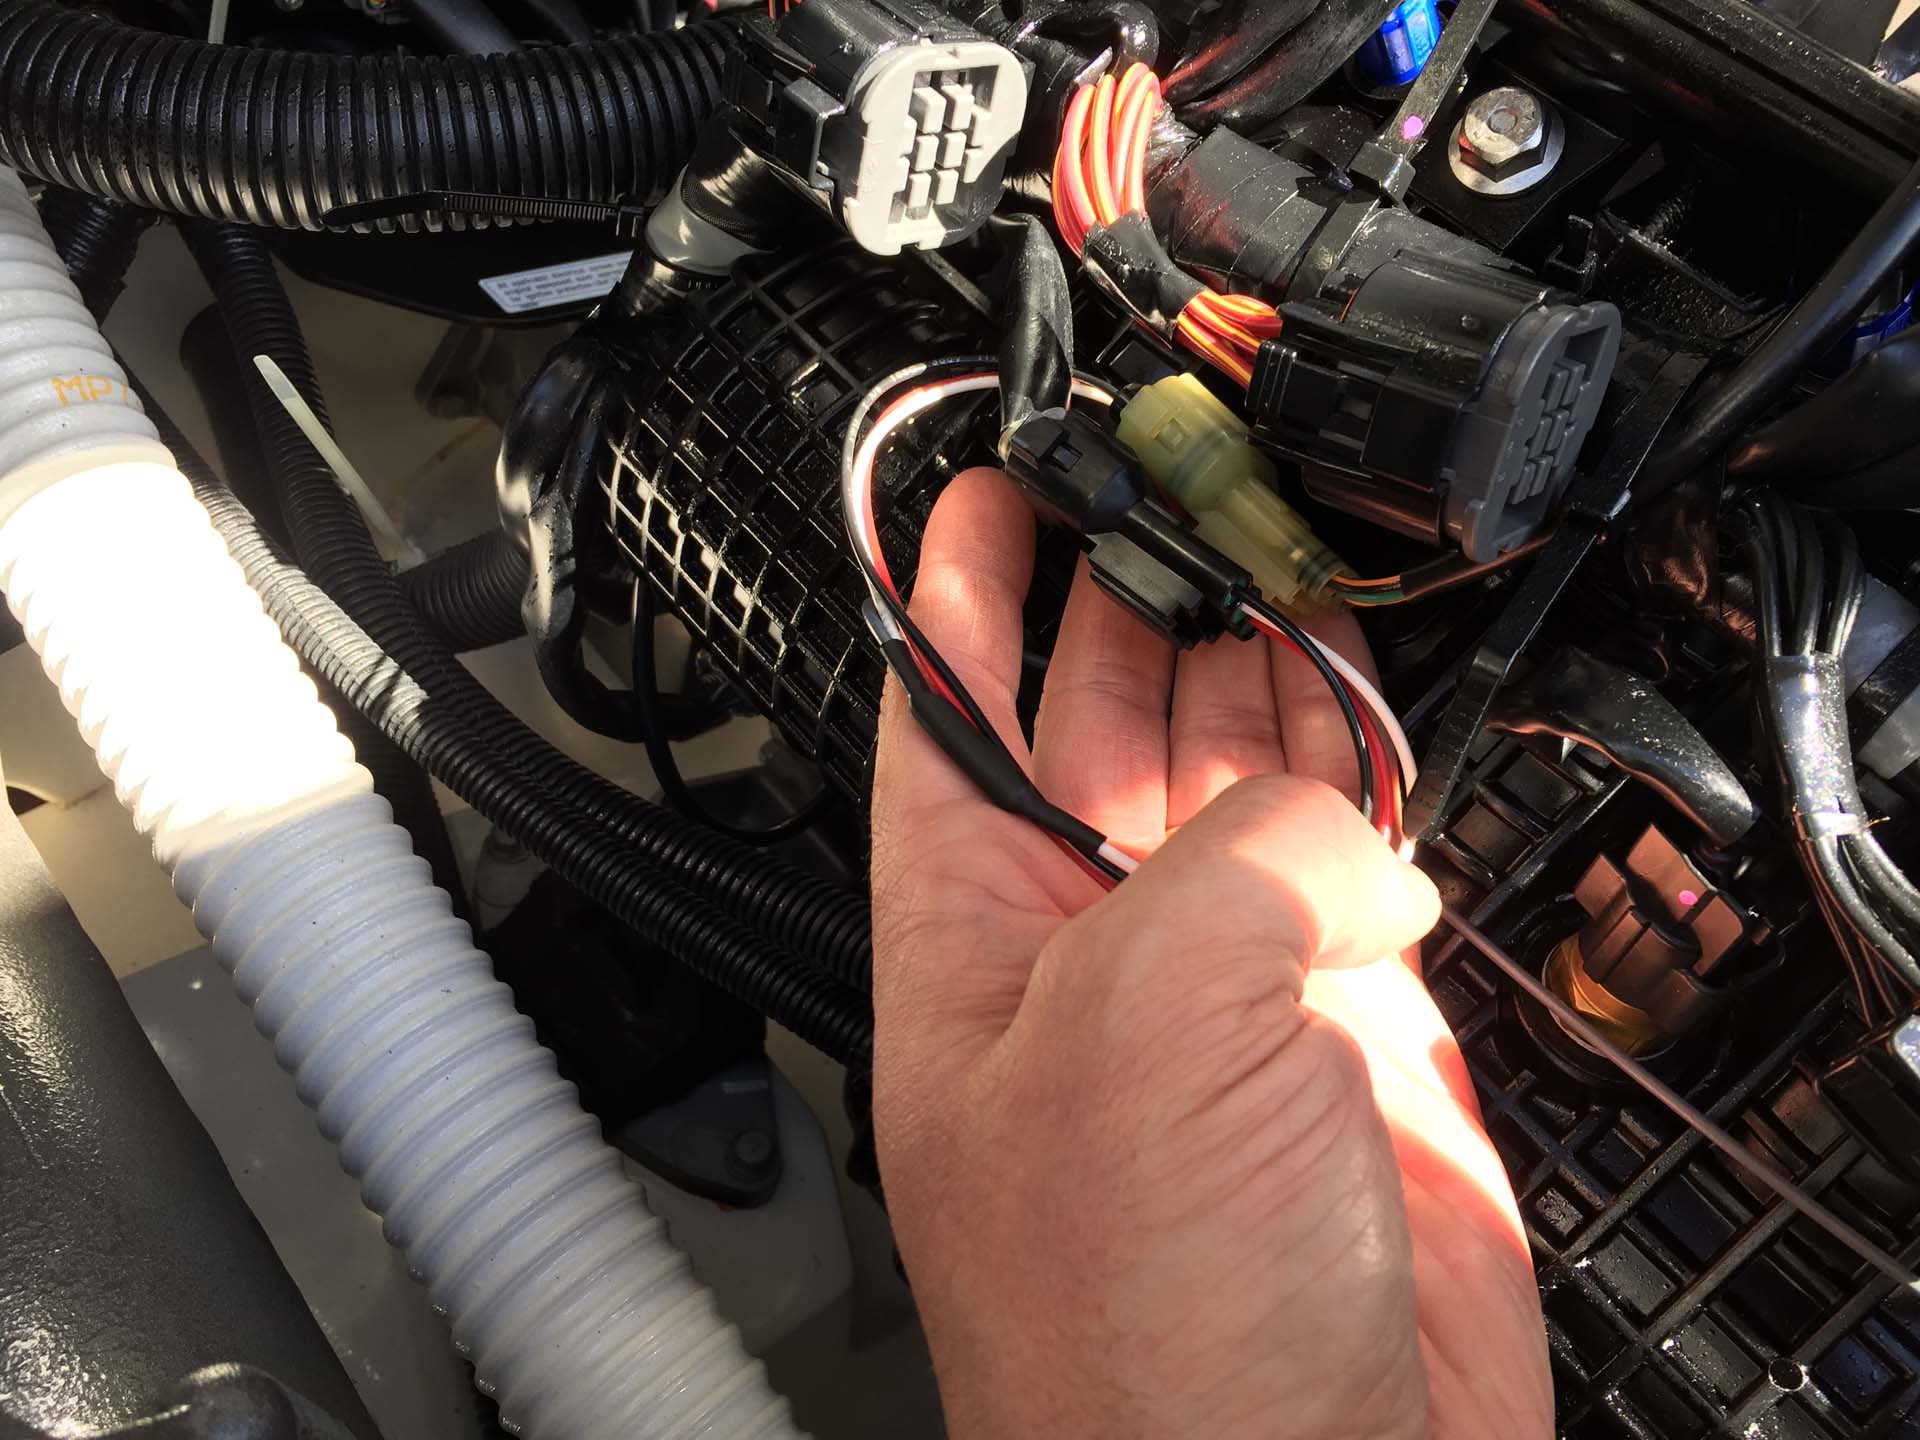
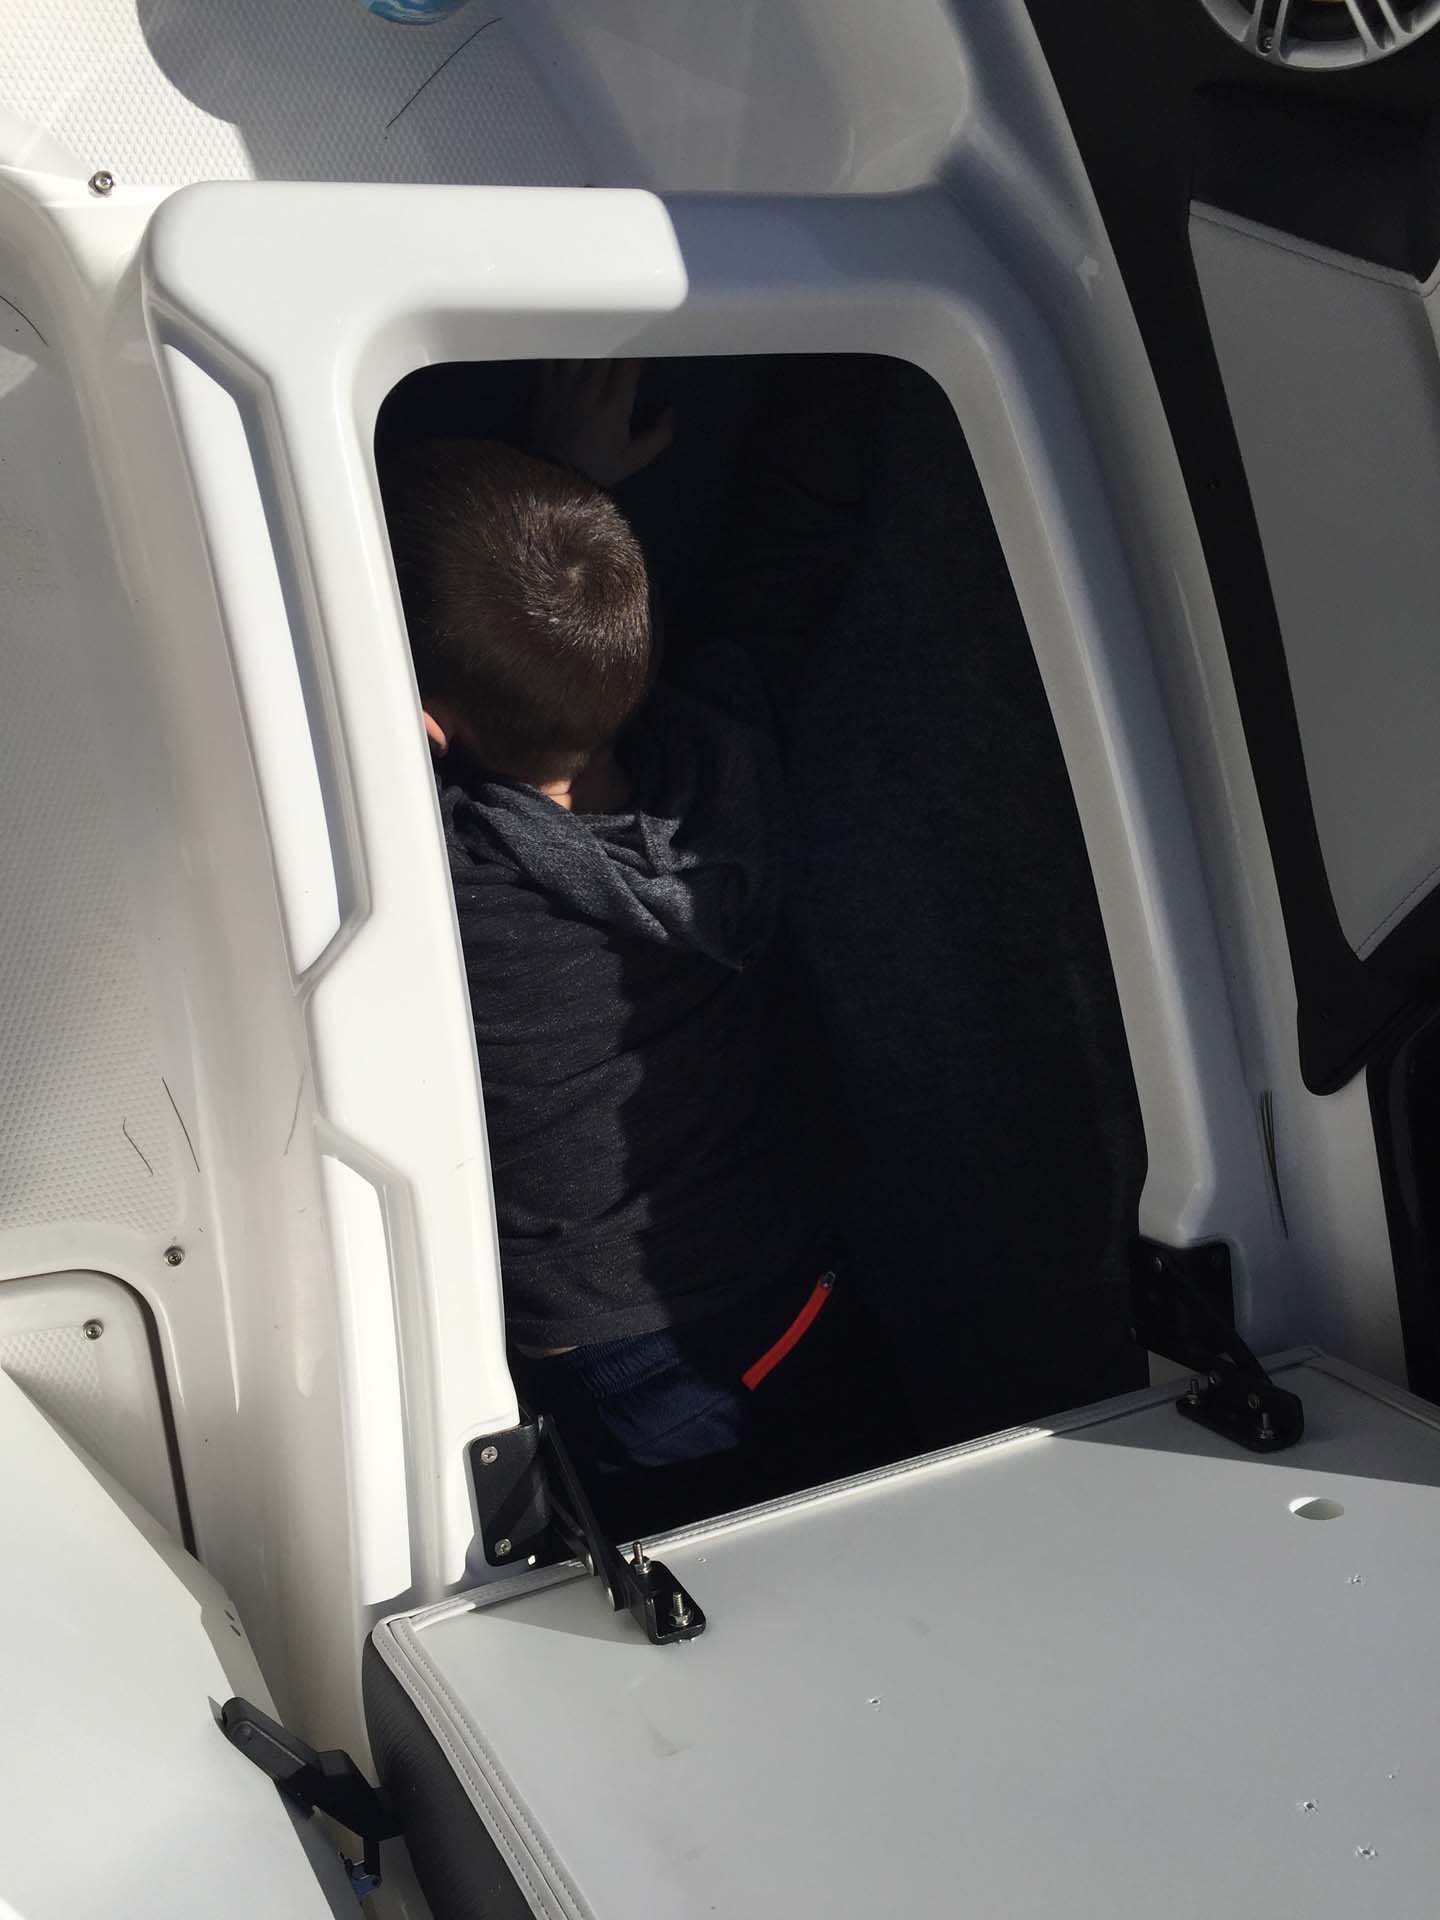
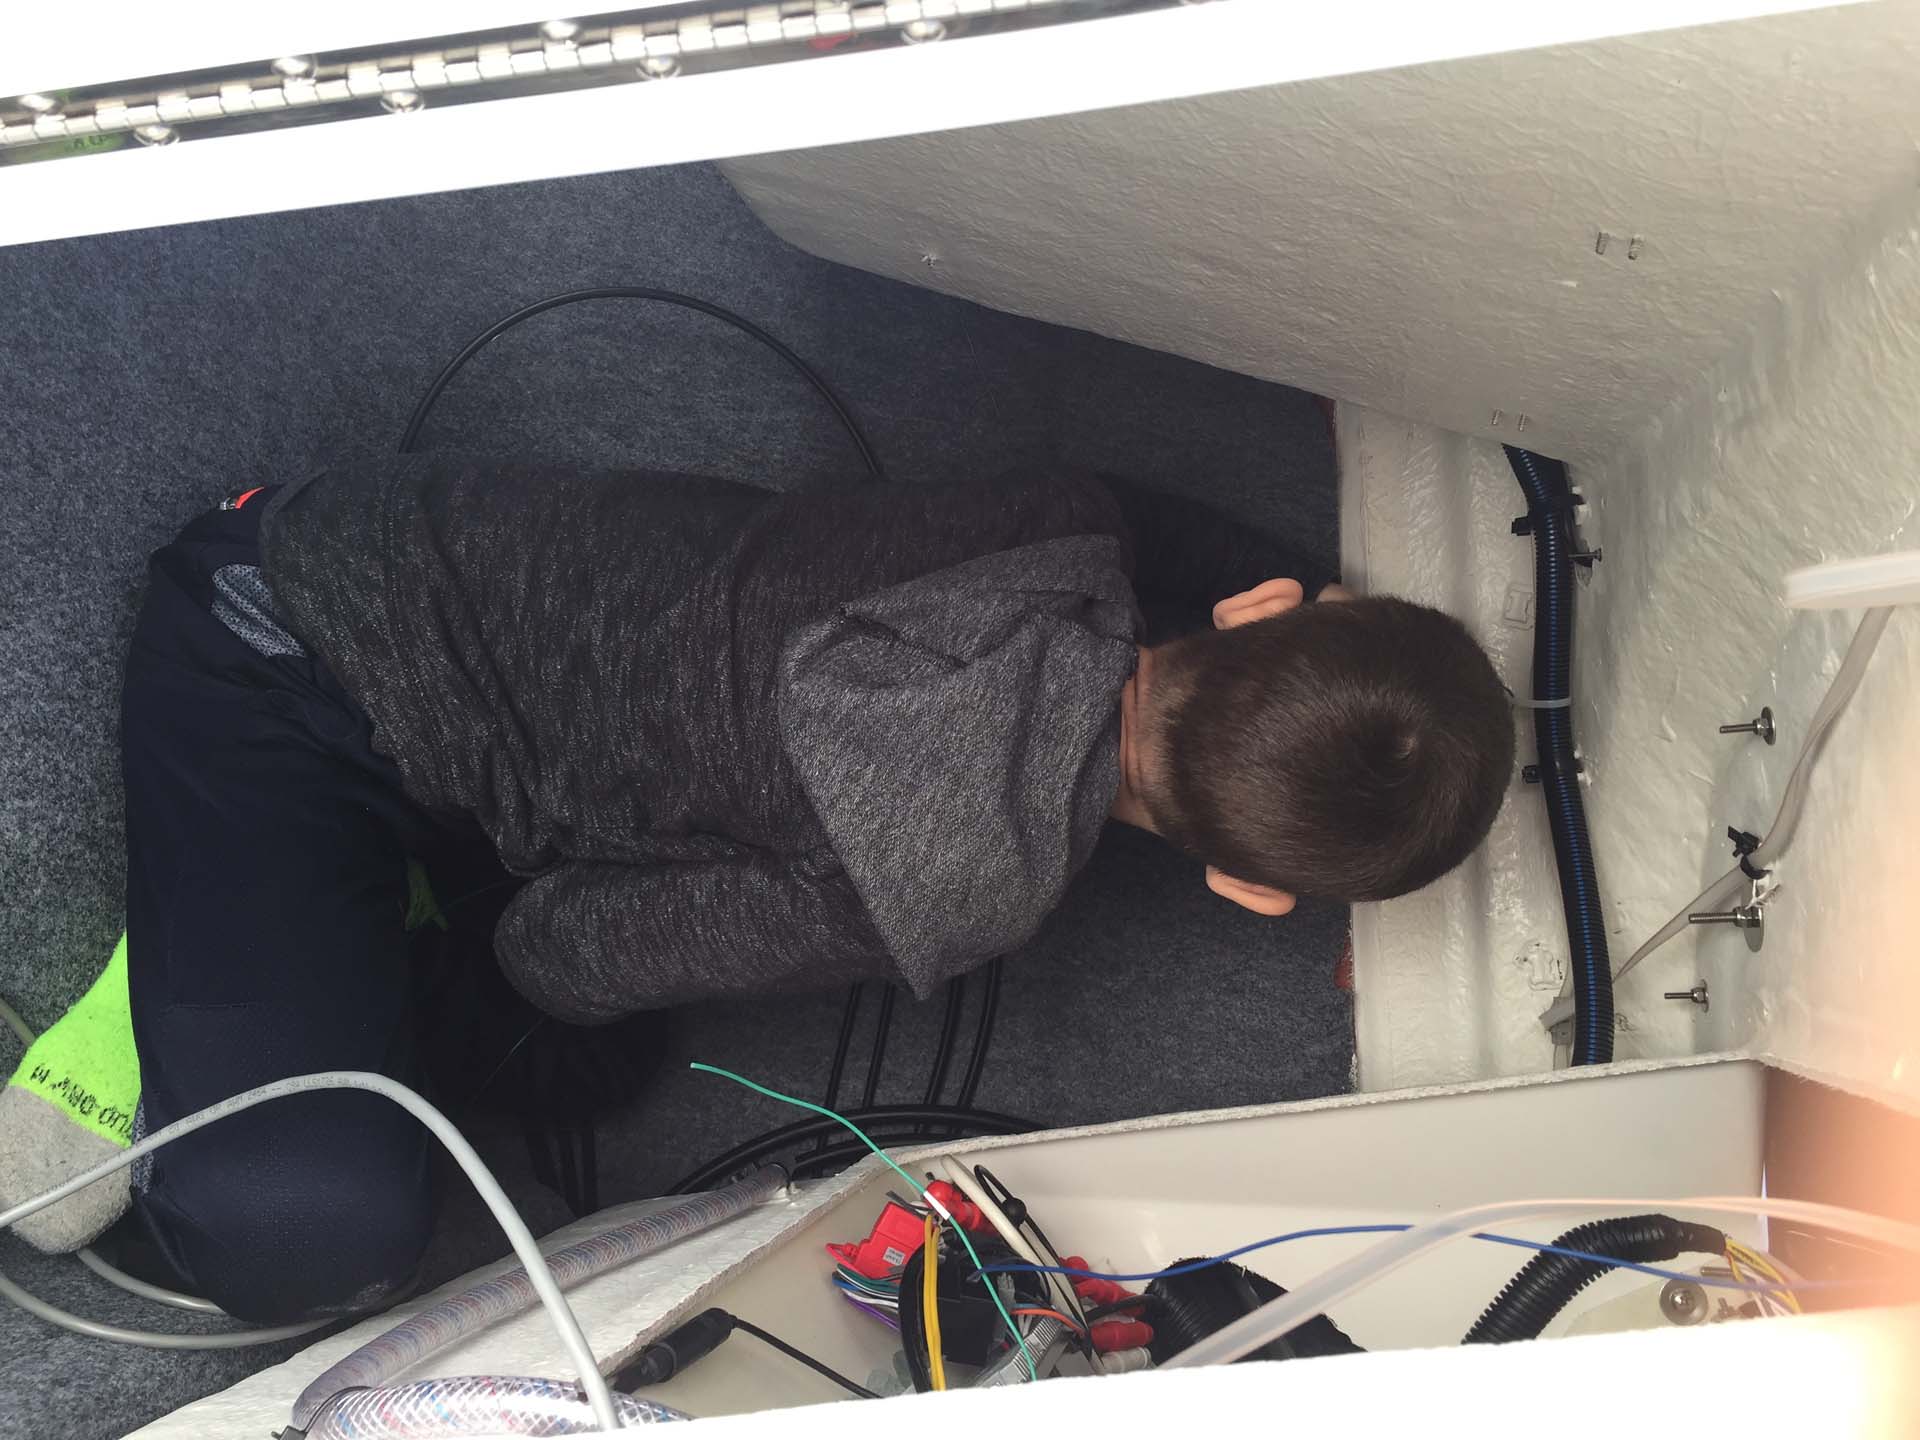
Working behind the helm can be tight - I recommend pulling the ignition panel completely out - or hiring a flexible 7 year old to run wires and zip ties, as seen in my pics - 7 year old not included ; )